Gold panning techniques for beginners come down to a clear sequence: prepare your pan properly, load and stratify the material, wash away the lighter debris, and inspect your concentrate, and mastering this simple process is what turns gold-seeking dreams into real, rewarding finds.
If you’ve ever dreamed of striking gold, learning the fundamentals is the place to start. Good technique is what separates prospectors who consistently find gold from those who wash it away without realizing it.
The encouraging truth is that the core techniques are simple to learn. Whether you’re a complete novice or have some experience, a clear step-by-step approach builds the skills and confidence to pan effectively.
This guide covers the essential techniques: preparing your pan, the washing method that concentrates gold, cleaning and maintaining your gear, and inspecting your results, so you can navigate gold panning with confidence.
TL;DR
- Prepare the pan: Choose the right size and clean off any coating first.
- Load correctly: Fill to a manageable level with classified material.
- Stratify the gold: Shake to settle heavy gold to the bottom.
- Wash patiently: Remove lighter material gradually to keep the gold.
- Maintain your gear: Clean pans work better and recover more gold.
- Inspect your finds: Learn to spot and estimate the gold you recover.
Mastering gold panning techniques for beginners starts with something many newcomers overlook: properly preparing your pan before you ever reach the water.
Preparing Your Pan for Effective Recovery
Before you begin, preparing your pan properly ensures effective gold recovery. A few simple steps set you up for success.
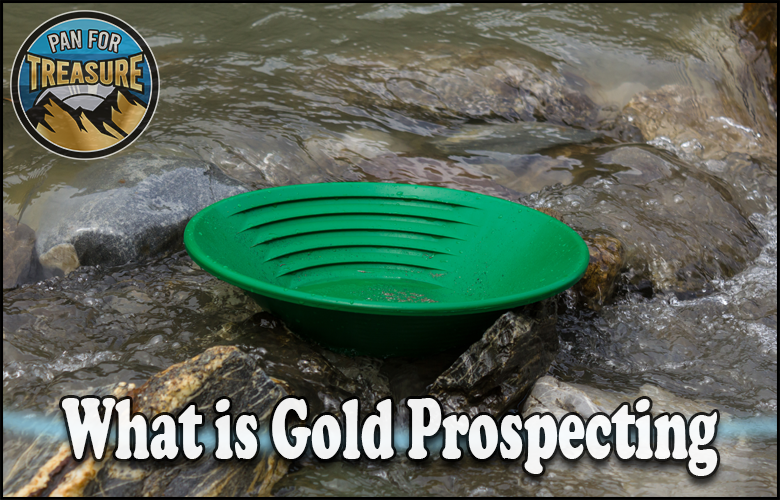
Choosing the right pan size matters. A pan that’s too large is hard to control, while one that’s too small limits recovery. A 10-to-14-inch diameter pan is recommended for beginners as a versatile, manageable size.
- Choose the right size: A 10-14 inch pan is ideal for beginners.
- Clean the pan: Scrub off grease and debris that hinder recovery.
- Remove any coating: New pans often have a rust-preventative coating to remove.
- Check the riffles: Make sure the molded riffles are clear and ready to trap gold.
New pans often come with a rust-preventative coating that can cause fine gold to float away, so removing it is important. A clean, properly prepared pan is the foundation of good recovery. Our guide on getting started with gold panning covers pan selection.
Loading and Stratifying the Material
With your pan ready, the next technique is loading it correctly and stratifying the material so the gold settles. This is the heart of panning.
Fill the pan no more than about two-thirds full, ideally with classified material that has had the large rocks screened out. Submerge it and break up any clay or clumps that could trap fine gold.
Then stratify: hold the pan level and submerged and shake it firmly side to side. This agitation sorts the material by weight, sending the heavy gold to the bottom where it’s protected during washing.
| Step | Purpose |
|---|---|
| Fill two-thirds full | A manageable amount to work effectively |
| Break up clumps | Free gold trapped in clay |
| Shake level | Settle heavy gold to the bottom |
Getting the gold to the bottom before you wash is what protects it. This stratification step, repeated throughout the process, is the crucial technique that keeps gold in your pan. Our guide on techniques and methods details the motion.
Washing Techniques to Concentrate Gold
The washing technique removes the lighter material while keeping the heavy gold. Done patiently, it concentrates your material down to gold and heavy sand.
After stratifying, tilt the pan slightly forward and use a gentle swirling or dipping motion to let water carry the top layer of light material over the edge. Remove only a little at a time.
The crucial habit is to pause and re-stratify frequently, shaking the gold back down to the bottom between washing motions. This ensures you never wash gold away with the lighter material.
- Tilt gently: Angle the pan slightly forward.
- Swirl and dip: Let water carry off the top light material.
- Go slowly: Remove only a little at a time.
- Re-stratify often: Shake gold back down between washes.
This patient alternation of washing and re-stratifying is what protects your gold. Rushing it is the top cause of lost gold, so take your time. Our guide on gold panning tips and tricks reinforces this patient rhythm.
Cleaning and Maintaining Your Pan
Maintaining your pan keeps it performing well. A clean, well-kept pan recovers gold more effectively over time.
Rinse your pan after each use to remove built-up sediment and any oils from your hands, which can cause fine gold to float. Keeping the riffles clear ensures they can trap gold effectively.
Store your pan properly, away from anything that could scratch or coat its surface. A smooth, clean pan lets gold settle and stay put, while a dirty or damaged one can cause you to lose fine gold.
Simple maintenance habits pay off in better recovery. Treating your pan well means it works well, session after session, helping you keep the gold you find. Our guide on the beginner’s guide to prospecting the right way covers good habits.
Inspecting and Estimating Your Gold
The final technique is inspecting your results, learning to spot the gold in your concentrate and estimate how much you’ve recovered.
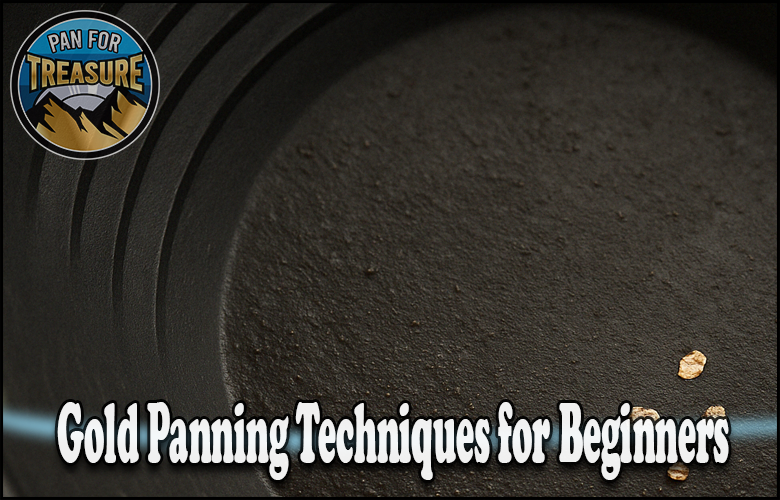
After washing down to concentrate, you’ll have a small amount of heavy material, often including black sand. Gently swirl a little water across it to spread it out and reveal the gold, which shows as bright, heavy flakes.
Learning to recognize gold among the concentrate is a skill that comes quickly. Real gold stays bright, is heavy, and doesn’t shatter, distinguishing it from look-alikes like pyrite and mica.
Estimating your recovery helps you gauge a location’s productivity and track your progress. Collecting your gold with a snuffer bottle and noting how much each spot yields builds knowledge that improves your prospecting over time. Understanding the rules, including gold panning laws in the United States, keeps your prospecting responsible.
Resources for Learning Technique
These authoritative sources support your panning skills:
- U.S. Geological Survey (USGS) — Data on gold and where it concentrates.
- Bureau of Land Management: Mining and Minerals — Rules for panning on public land.
- Gold Prospectors Association of America (GPAA) — Community and instruction on technique.
- USDA Forest Service: Minerals and Geology — Regulations for panning on National Forest lands.
Conclusion
Good technique is what turns gold-seeking dreams into real finds, and the fundamentals are well within any beginner’s reach. The sequence is simple: prepare, load and stratify, wash, maintain, and inspect.
Preparing a clean, right-sized pan sets the foundation, while loading and stratifying gets the gold to the bottom where it’s safe. Patient washing keeps it there, and good maintenance keeps your gear performing.
Learning to inspect and estimate your gold completes the picture, building the knowledge that makes each outing more productive than the last.
Master these gold panning techniques for beginners, and you’ll have the skills to find gold consistently, so prepare your pan, work it patiently, and turn your gold-seeking aspirations into a rewarding reality.
Frequently Asked Questions – Gold Panning Techniques
What size gold pan should a beginner use?
A 10-to-14-inch diameter pan is ideal for beginners. A pan that’s too large is difficult to control, while one that’s too small limits how much gold you can recover. This middle range is versatile and manageable, letting you work material effectively while learning the technique.
Why do I need to clean a new pan?
New pans often come with a rust-preventative coating that can cause fine gold to float away rather than settle. Scrubbing the pan with a brush and water removes this coating along with any grease, ensuring accurate gold recovery. A clean, properly prepared pan is the foundation of good technique.
How do I keep gold from washing out of the pan?
Stratify frequently by shaking the pan level so heavy gold settles to the bottom, then wash off lighter material slowly, only a little at a time, re-stratifying between washing motions. This patient alternation keeps the gold protected at the bottom while everything lighter is removed.
How full should I fill my pan?
No more than about two-thirds full, ideally with classified material that has had large rocks screened out. Overfilling makes the pan hard to work and risks losing gold, while a manageable amount can be stratified and washed effectively, giving you far better recovery.
How do I maintain my gold pan?
Rinse it after each use to remove sediment and any oils from your hands, which can cause fine gold to float. Keep the riffles clear so they trap gold effectively, and store the pan away from anything that could scratch or coat it. Simple maintenance keeps recovery consistent.
How do I recognize gold in my concentrate?
After washing down to concentrate, swirl a little water across it to spread it out. Gold shows as bright, heavy flakes that stay shiny even in shade, are heavy, and don’t shatter, distinguishing them from pyrite and mica. Learning to spot gold in the concentrate is a skill that comes quickly.
⛏ Recommended Gear ⛏


* As an Amazon Associate I earn from qualifying purchases at no extra cost to you.
Subscribe to Our Newsletter

Ryan Conlon is the founder of Pan for Treasure.
A lifelong gold panning enthusiast, he created this site to help beginners learn the ropes and share practical tips from his own time on the creek. [email protected]