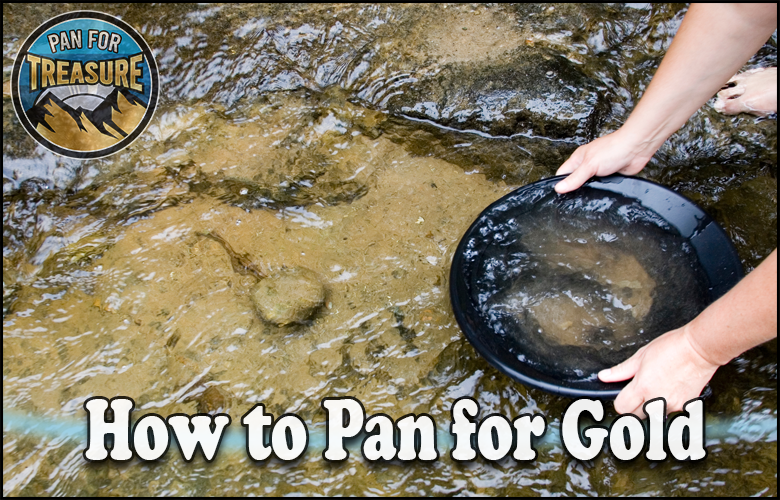
How to pan for gold is a skill any beginner can learn in a single day: choose a gold-bearing stream, fill your pan with the right material, and use a simple shake-and-swirl motion to let heavy gold settle while lighter material washes away, revealing flakes at the bottom.
Gold panning is the classic method for extracting gold from rivers and streams, and it’s remarkably accessible. With the right location, basic equipment, and proper technique, you can find real gold on your very first outing.
The process rests on one simple principle: gold is far heavier than sand and gravel, so it sinks. Everything you do with the pan is designed to use that weight difference to separate gold from everything else.
This guide gives you foolproof steps to find flakes your first day: how to choose a location, gather the right equipment, execute the panning technique, and store your finds, so you can start prospecting with confidence.
TL;DR
- Choose location first: Find streams with a history of placer gold.
- Get the right gear: A pan, classifier, and digging tools are the essentials.
- Read the water: Look for slow spots and natural obstructions where gold settles.
- Master the motion: Fill, submerge, shake, and swirl to separate gold.
- Go slow: Patient washing keeps the fine gold that rushing loses.
- Store finds properly: Use labeled, water-filled vials to protect your gold.
Learning how to pan for gold starts with the single most important decision: where you choose to pan.
Choosing the Right Location for Gold Panning
Before you start, it’s essential to choose the right location. Look for streams or rivers with a history of producing placer gold, since that’s where your odds are best.
Placer gold is gold that has eroded from its source and been deposited in stream sediment. These areas may have been mined before, but new gold is constantly deposited by natural erosion, so there’s still gold to find.
Within a promising stream, look for spots where the water flow slows and where large rocks or fallen trees create eddies. These natural obstructions form pockets where gold settles out of the current.
| Location Feature | Why It Holds Gold |
|---|---|
| History of placer gold | Proven gold-bearing ground |
| Slow water flow | Current drops heavy gold |
| Rocks and fallen trees | Create eddies where gold collects |
| Inside of bends | Slowed current deposits gold |
Choosing a proven location and reading these features is the foundation of success. Our guide on selecting the ideal gold panning location goes deeper, and our roundup of the best locations to find gold can point you toward productive regions.
Our Favorite Posts
Getting the Right Equipment
To pan successfully, you’ll need the right equipment. The essential tools are simple and inexpensive, and they set you up for effective gold recovery.
- Gold pan: The core tool for separating gold from material.
- Classifier or sieve: Sifts out larger rocks for easier panning.
- Digging tools: A shovel and spade for gathering material.
- Containers: For collecting concentrate and storing your gold.
This basic kit is enough to start finding gold. A classifier in particular makes a big difference by removing oversized rocks before you pan, letting you focus on the fine, gold-bearing material. Our guide on shovel selection helps you choose the right digging tools.
The Gold Panning Technique
With a good location and the right gear, the technique itself is what recovers the gold. It’s straightforward, and it relies on gold’s weight to do the work.
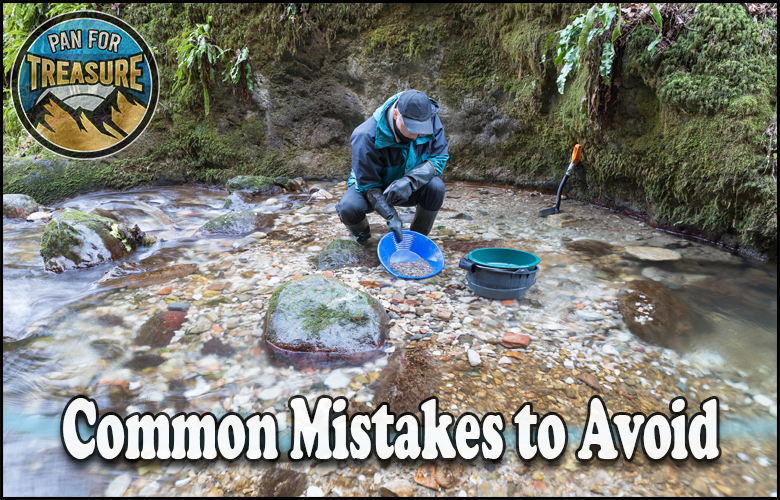
Fill your pan with material, submerge it, and break up any clumps. Remove the large rocks after checking them, then work the core motion of settling and washing that defines panning.
- Fill and submerge: Load the pan and get it fully underwater.
- Break it up: Dissolve clay and clumps to free trapped gold.
- Shake to settle: Agitate the pan level so heavy gold sinks to the bottom.
- Tilt and swirl: Wash off the lighter material a little at a time.
- Separate the concentrate: Work down to the heavy material and reveal the gold.
The key is to alternate settling and washing, re-shaking the gold to the bottom between washes so it never escapes. Go slowly, since rushing sends fine gold over the edge. Our guide on gold panning techniques for beginners details the motion.
Recommended Reading
Separating Gold from Your Concentrate
After washing away the lighter material, you’re left with a small amount of heavy concentrate, and separating the gold from it is the rewarding final step.
The concentrate often includes black sand, dense dark minerals that collect alongside gold. Your gold will be among this heavy material, so knowing how to work it out is important.
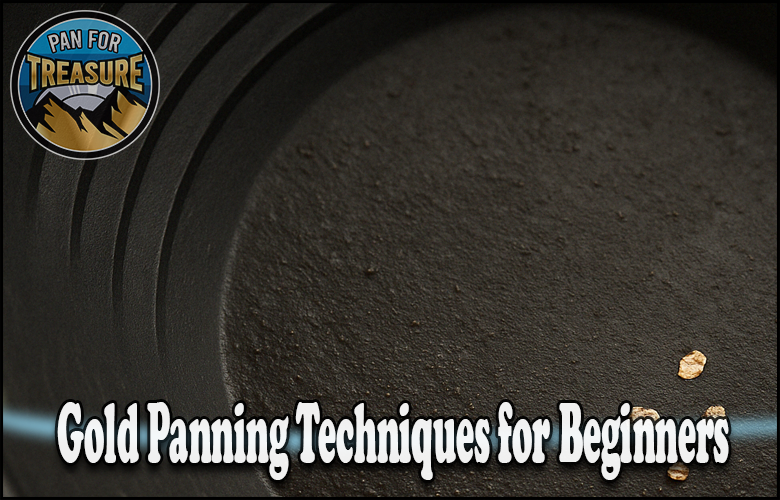
Gently swirl a little water across the concentrate to spread it out. Gold, being heaviest and often bright, lags behind the lighter black sand and reveals itself as gleaming flakes or specks.
Collect the gold carefully with a snuffer bottle so none is lost. Working over your pan means any dropped flakes are recaptured. This patient finish secures the gold you worked to recover.
Storing Your Gold Properly
Once you’ve recovered gold, storing it properly protects your finds. Fine gold is easy to lose without the right approach.
The best method is a small vial filled with water. The water keeps fine flakes from sticking to the sides and escaping, and a sealed vial keeps your gold secure on the trip home.
- Use water-filled vials: Water keeps fine flakes from sticking and escaping.
- Label your containers: Note the location and date for future reference.
- Secure the lids: Prevent spills that could lose your gold.
- Handle over your pan: Recapture any flakes you drop.
Labeling your vials with the location and date is a smart habit. It builds a record of your productive spots, helping you return to the places that yield gold and refine your prospecting over time.
Resources for Learning to Pan
These authoritative sources support successful, legal panning:
- U.S. Geological Survey (USGS) — Data on where placer gold occurs.
- Bureau of Land Management: Mining and Minerals — Rules for panning on public land.
- Gold Prospectors Association of America (GPAA) — Community and instruction for beginners.
- USDA Forest Service: Minerals and Geology — Regulations for panning on National Forest lands.
Conclusion
Panning for gold is a skill any beginner can learn quickly, and the steps are foolproof when you follow them in order. Choose a proven location, gather the right gear, and master the settling-and-washing motion.
Reading the stream for slow spots and natural obstructions puts you where gold collects, while patient technique keeps the fine gold that rushing loses. Separating your concentrate carefully reveals your finds.
Finish by storing your gold in labeled, water-filled vials, building a record of your best spots to guide future outings. Each trip then builds on the last.
Now that you know how to pan for gold, you’re ready to find flakes your very first day, so pick a gold-bearing stream, work your pan patiently, and experience the timeless thrill of striking gold.
Frequently Asked Questions – How to Pan for Gold
Can a beginner find gold on the first day?
Yes, absolutely. With a gold-bearing location, basic equipment, and proper technique, beginners regularly find flakes on their first outing. The keys are choosing a stream with a history of placer gold, reading the water for spots where gold settles, and working the pan patiently rather than rushing.
How do I choose where to pan?
Look for streams or rivers with a history of producing placer gold, then within them target spots where the water slows and where rocks or fallen trees create eddies. These natural obstructions form pockets where gold settles. A proven location combined with reading these features is the foundation of success.
What is the basic panning technique?
Fill the pan with material and submerge it, break up any clumps and remove large rocks, then shake the pan level so heavy gold settles to the bottom. Tilt and swirl gently to wash off lighter material a little at a time, re-shaking between washes, until only concentrate and gold remain.
Why do I keep losing gold while panning?
Usually because of rushing. Fine gold washes over the edge if you tilt and swirl too fast. Go slowly, remove only a little light material at a time, and re-shake the gold back to the bottom between washing motions. Patient technique is what keeps the fine gold in your pan.
What is black sand in my pan?
Black sand is dense, dark heavy minerals that collect alongside gold in your concentrate. Because gold is even heavier, it lags behind the black sand when you gently swirl water across the concentrate, revealing itself as bright flakes. Finding black sand is a good sign you’re working the right material.
How should I store the gold I find?
Use small vials filled with water, since the water keeps fine flakes from sticking to the sides and escaping. Label each vial with the location and date to build a record of your productive spots, secure the lids to prevent spills, and always handle gold over your pan to recapture any drops.
⛏ Recommended Gear ⛏


* As an Amazon Associate I earn from qualifying purchases at no extra cost to you.
Subscribe to Our Newsletter

Ryan Conlon is the founder of Pan for Treasure.
A lifelong gold panning enthusiast, he created this site to help beginners learn the ropes and share practical tips from his own time on the creek. [email protected]