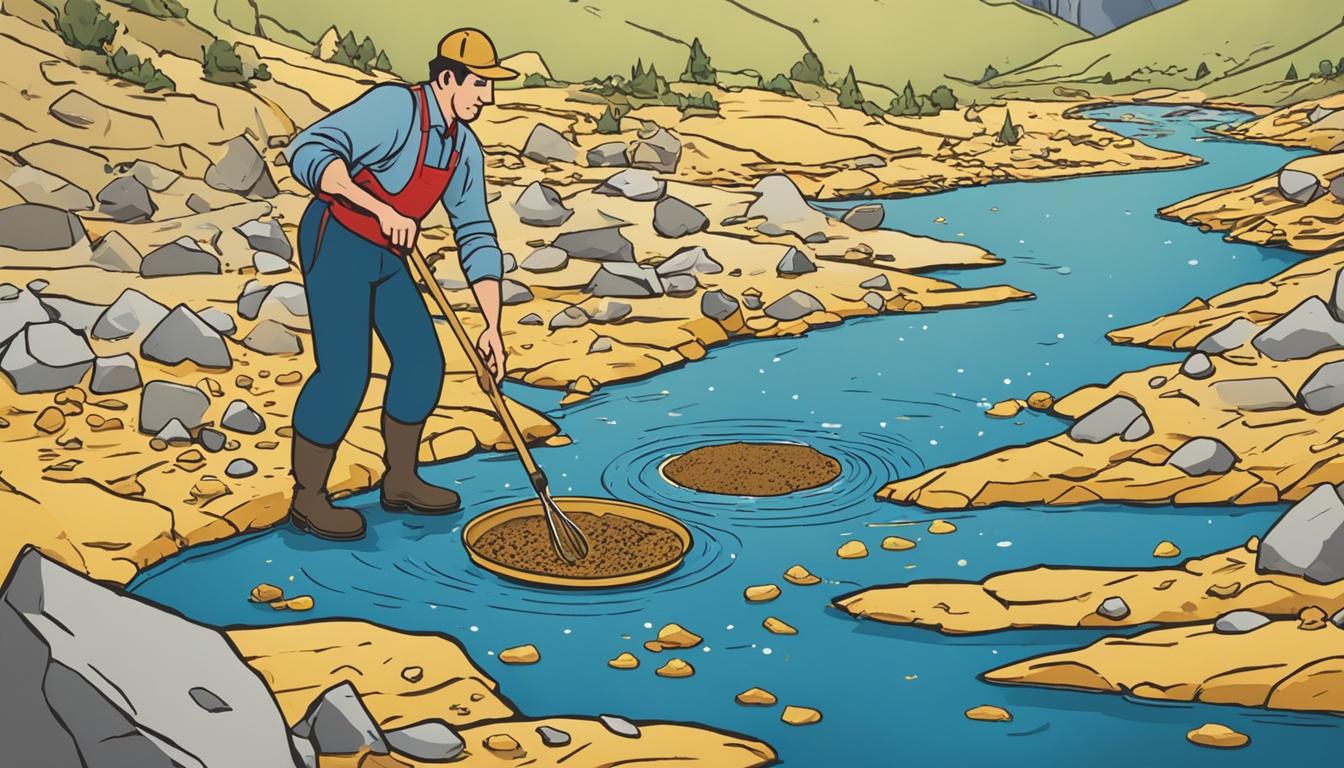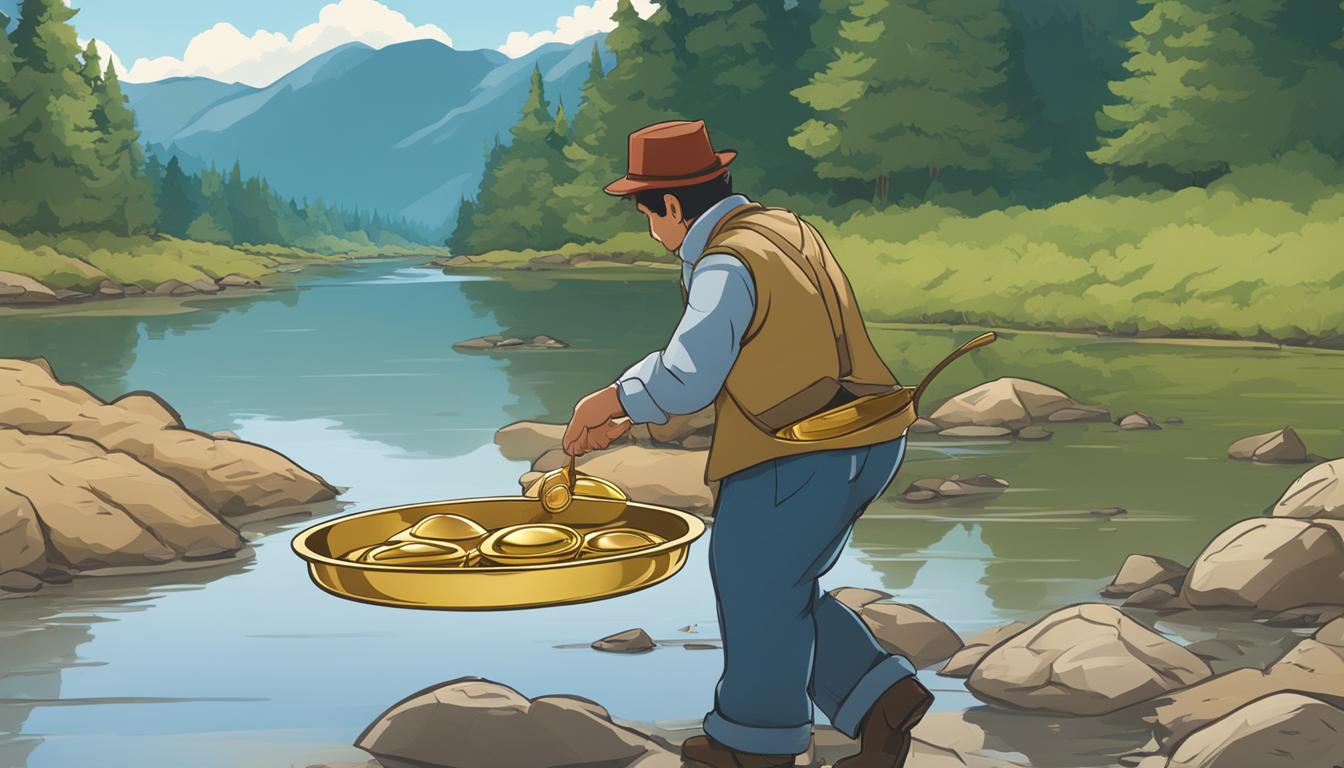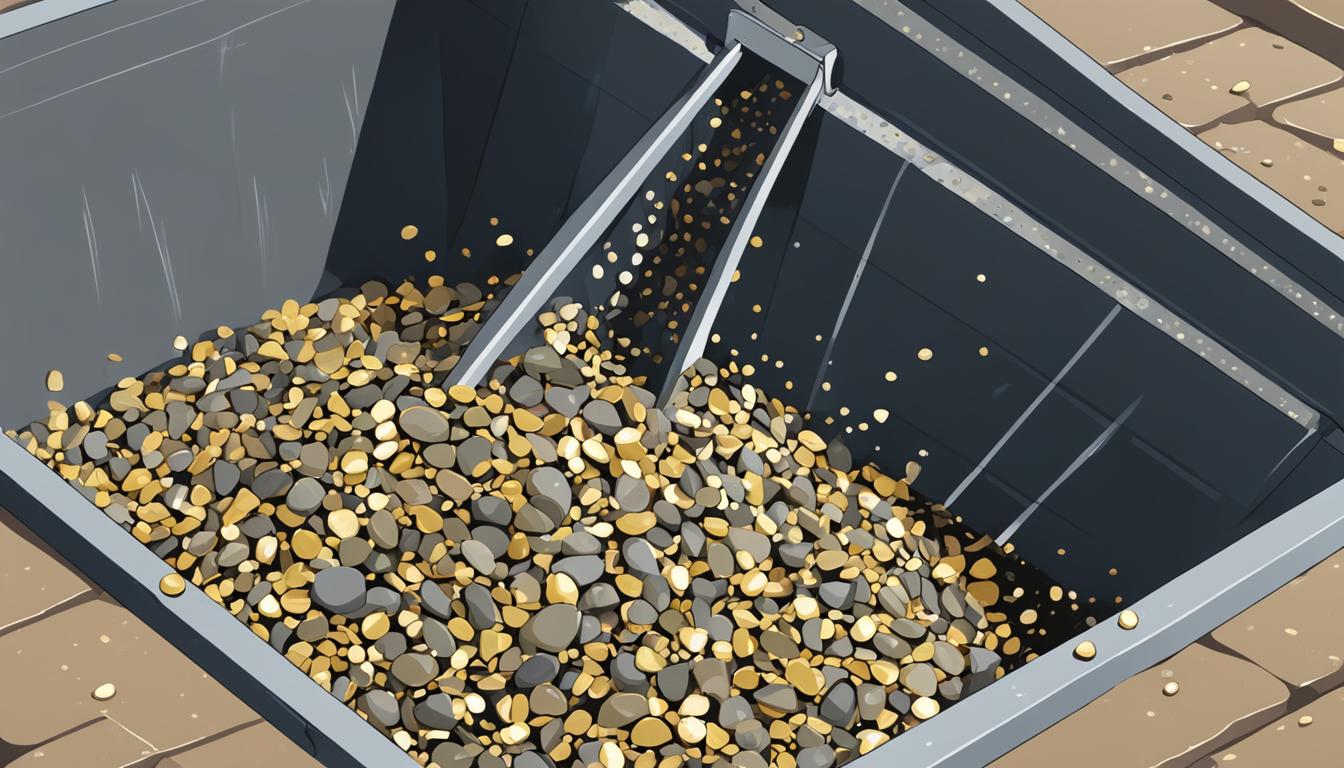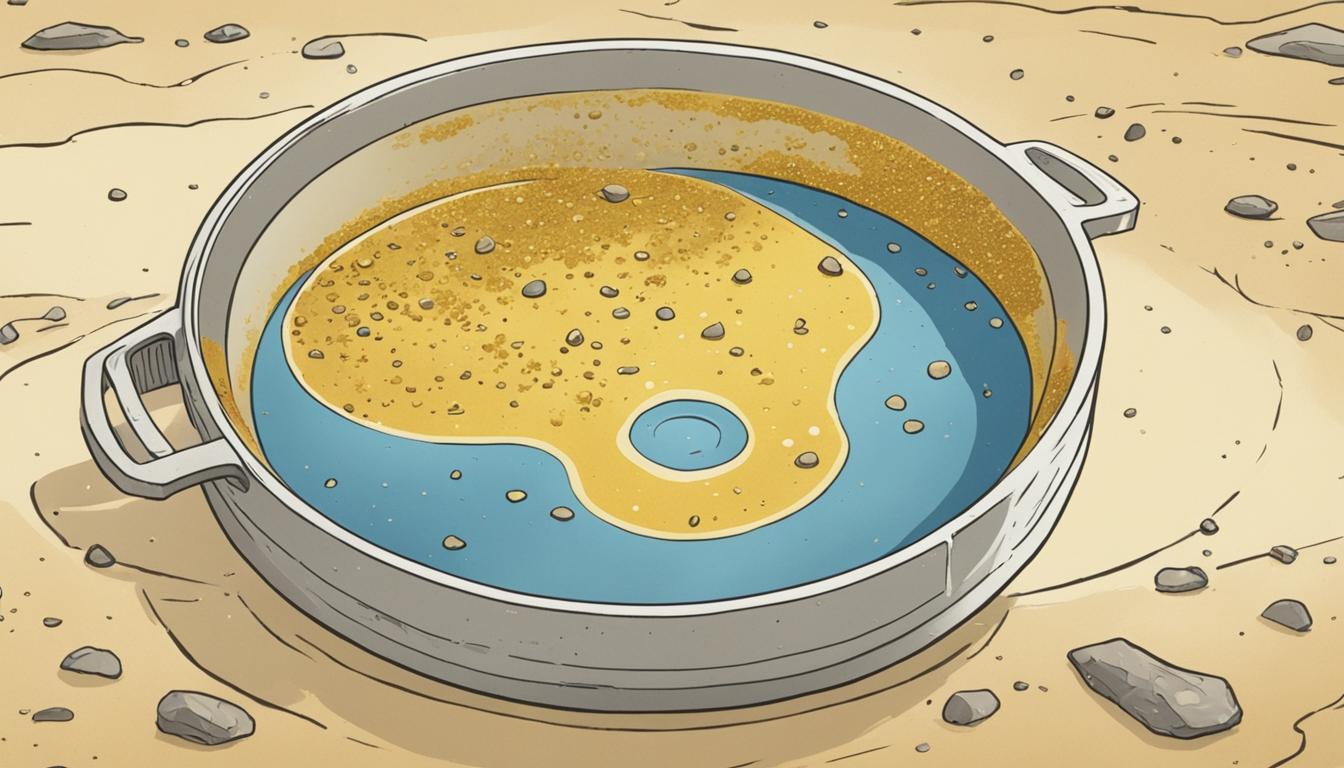
Welcome to our comprehensive guide on gold panning! If you’re interested in discovering gold nuggets or deposits, it’s essential to understand how to read the signs in your pan. By paying attention to subtle clues, you can increase your chances of identifying gold while panning. In this guide, we’ll explore the key signs that indicate the presence of gold and provide you with valuable tips to enhance your gold prospecting skills.
Key Takeaways:
- Pay attention to rock-type changes, soil color changes, iron staining, eroding rocks, and the presence of various minerals while panning.
- Changes in rock types can indicate the presence of gold deposits.
- Soil color changes can be an indicator of gold presence.
- Iron staining, such as reddish soils or quartz pieces with dark red stains, can suggest the presence of gold.
- Eroding rocks, especially “rotten” quartz, can be a sign of gold deposits.
Rock-type Changes
When it comes to gold prospecting, understanding rock-type changes is crucial. Gold deposits are often found in areas where different rock types converge. By observing and analyzing the variations in rock types, you can uncover valuable clues that lead to the presence of gold.
Rock-type changes occur when geological forces bring together distinct rock formations. These changes create opportunities for gold deposition, as gold-rich fluids can infiltrate and interact with the different rock types. Therefore, being attentive to any shifts or differences in the types of rocks you encounter while panning for gold is essential.
“Understanding the geology of an area can significantly enhance your gold prospecting success. By studying rock-type changes, you gain insights into the complex processes that led to the formation of gold deposits.”
Identifying rock-type changes can be challenging, especially for novice prospectors. However, with practice and a keen eye for detail, you can master this skill. Look for differences in color, texture, and composition between adjacent rocks. Note any abrupt transitions or boundaries between rock formations, as they may signal the presence of gold.
Remember, not all rock-type changes indicate the presence of gold. However, they serve as valuable indicators and guideposts in your search for gold deposits. Use them as a piece of the larger puzzle, together with other signs and geological knowledge, to increase your chances of striking gold.
Possible Rock-type Changes:
- Shifts from igneous to sedimentary rocks
- Boundary between metamorphic and sedimentary rocks
- Contact zones where two different rock formations meet
| Pros | Cons |
|---|---|
| Indication of gold presence in the area | Not all rock-type changes imply gold deposits |
| Can lead to the discovery of new gold veins | Require careful observation and geological knowledge |
| Help in determining the best panning locations | May require further exploration and analysis |
Understanding rock-type changes and their relationship to gold deposits is a valuable skill for any aspiring gold prospector. By honing this skill, you can unlock new opportunities and increase your chances of finding gold while panning.
Soil Color Changes
The color of the soil can provide valuable clues when it comes to gold prospecting. While panning for gold, observing changes in the color of the soil can indicate the presence of gold pieces waiting to be discovered. This is because gold particles are often mixed with fine rock and mineral particles, which can affect the overall color of the soil.
When you notice soil color changes, it’s a sign that there may be gold present in the area. The presence of gold can alter the soil’s color, giving it a distinct hue that stands out from the surrounding soil. By paying close attention to these changes, you can increase your chances of finding valuable gold pieces while panning.
Soil color changes can vary depending on various factors, such as the concentration of gold particles and the composition of minerals in the area. Therefore, it’s essential to be familiar with the typical soil colors associated with gold deposits in your region.
Take a look at the example below to get a better idea of how gold can affect soil color:
To help you gauge the significance of soil color changes in gold prospecting, refer to the table below:
| Soil Color | Possible Indication |
|---|---|
| Yellow or Golden | Potential presence of gold particles |
| Reddish or Rusty | Iron staining, indicating gold possibility |
| Black or Dark | Potential presence of heavy minerals or gold |
| Whitish or Gray | Indication of lighter mineral content |
By understanding the significance of soil color changes and its correlation with gold prospecting, you can refine your panning technique and focus on areas that exhibit promising soil colors. Remember to keep an eye out for these changes and use them as valuable indicators in your search for gold pieces.
Iron Staining
Iron staining is an important sign to look out for when panning for gold. This natural phenomenon occurs when Ferric iron oxidizes rocks, resulting in distinct red, yellow, or purple staining.
These iron-stained rocks can serve as indicators of gold presence in an area. If you come across reddish soils or quartz pieces with dark red stains while panning, it is highly likely that there are gold deposits nearby.
Iron staining is a valuable clue for gold prospectors as it suggests the geological conditions favorable for gold formation. The presence of iron staining indicates the potential for gold mineralization in surrounding rocks and sediments.
“The presence of iron staining can be a reliable guide for gold prospectors. It’s like nature’s way of saying, ‘Gold may be here!'” – Expert Gold Prospector
By carefully observing the rocks and soils you encounter while panning, you can identify iron staining and increase your chances of finding gold deposits. The next time you see those distinctive red, yellow, or purple hues, take note and explore further.
Remember, iron staining is just one of the signs that may lead you to gold. Pay attention to the other indicators such as rock-type changes, soil color changes, eroding rocks, and the presence of various minerals to enhance your gold prospecting skills.
| Sign | Description |
|---|---|
| Rock-type Changes | Indicates the convergence of different rock types, potentially indicating the presence of gold |
| Soil Color Changes | Changes in soil color can be an indication of gold pieces awaiting discovery |
| Iron Staining | Ferric iron turns rocks into red, yellow, or purple, suggesting the presence of gold |
| Eroding Rocks | Loose and easily crumbled structures can signify the presence of gold |
| Presence of Various Minerals | Gold is often associated with specific minerals; familiarity with these minerals increases the chances of finding gold deposits |
Utilize these indicators to your advantage and enjoy the thrill of discovering precious gold through your panning endeavors!
Eroding Rocks
When it comes to gold prospecting, paying attention to the rocks can provide valuable clues. In certain areas where different types of rocks converge, you might come across eroding rocks that crumble easily. These eroding rocks could be indicative of the presence of gold.
One type of eroding rock to look out for is “rotten” quartz, which has a decomposing structure due to weathering and erosion. Rotten quartz can be a sign that gold deposits may be nearby. Additionally, other eroding rocks in the vicinity could also indicate the potential presence of gold.
Take note of any changes in the rock formations and keep an eye out for easily crumbled structures while panning. These eroding rocks can serve as valuable markers in your quest for finding gold.
Remember to carefully examine the rocks in your surroundings for any signs of erosion or disintegration. These eroding rocks could be the key to uncovering hidden gold deposits in the area.
Get one step closer to finding gold by checking out our helpful guide on identifying various minerals often associated with gold presence.
Presence of Various Minerals
When it comes to gold prospecting, understanding the presence of various minerals is crucial. Gold is often found in association with specific minerals, and familiarizing yourself with these minerals can significantly increase your chances of finding gold deposits in the location you are prospecting in.
Conducting thorough research and gathering knowledge about the minerals commonly found alongside gold will help you identify the right signs and indicators. By recognizing the presence of these minerals, you can narrow down your search and focus on areas with a higher likelihood of containing gold.
Here are some common minerals that are often associated with gold:
| Mineral | Description |
|---|---|
| Quartz | A common mineral found in gold-bearing areas. Look for specimens with gold-colored veins or dark red staining. |
| Pyrite | Also known as “fool’s gold,” pyrite is often found near gold deposits. It has a metallic luster and can be mistaken for real gold. |
| Arsenopyrite | This mineral commonly accompanies gold and has a silver-white or steel-gray color. It often forms needle-like crystals. |
| Garnet | Garnets are dark red minerals that can sometimes be found in proximity to gold. Their presence may indicate the potential for gold deposits. |
While these minerals are good indicators, it’s important to note that their absence does not necessarily mean the absence of gold. Gold prospecting is a complex process, and it’s always recommended to have a comprehensive understanding of the geology of the area you’re exploring.
Remember to remain observant and keep a keen eye for these minerals while panning for gold. They can serve as valuable clues that lead you to your ultimate treasure.
Basic Gold Panning Procedure
When it comes to gold panning, mastering the basic procedure is essential for finding gold. Follow these steps to increase your chances of success:
Step 1: Prepare Your Pan
Start by selecting a pan that is large enough to hold a substantial amount of material. A 14-inch pan is commonly used for beginners. Ensure the pan is clean and free from any debris.
Step 2: Fill with Gravel
Fill your pan with gravel and sediment from the stream or river you are prospecting in. Be sure to scoop from areas that are known to have a higher chance of containing gold.
Step 3: Submerge in Water
Submerge your pan in water, ensuring all the material is covered by at least a few inches of water. Swirl the pan gently to allow the water to loosen any mud or clay.
Step 4: Shake Vigorously
With the pan still submerged, shake it vigorously from side to side. This action helps to separate the denser materials, such as gold, from the lighter sediment.
Step 5: Use a Circular Motion
Continue swirling the pan in a circular motion, allowing the water to carry away the lighter materials. The circular motion helps to concentrate the heavier materials, such as gold, at the bottom of the pan.
Step 6: Inspect and Repeat
Inspect the contents of your pan, keeping an eye out for any glimmers of gold. Carefully remove any large rocks or debris, and repeat the shaking and swirling process to further concentrate the gold.
| Material | Specific Gravity |
|---|---|
| Gold | 19.3 |
| Magnetite | 4.9 |
| Hematite | 5.3 |
| Quartz | 2.6 |
| Feldspar | 2.6 |
Gold has a specific gravity of 19.3, which means it is much heavier than most other materials commonly found while panning. This table shows the specific gravity of some materials that may be encountered while panning for gold.

Remember, practice makes perfect when it comes to gold panning. The more you refine your technique, the better your chances of finding gold. So grab your pan and start panning!
Finding the Best Spot
To increase your chances of finding gold, it’s important to choose the right spot for gold prospecting. Look for areas along a stream or river where gold has been known to be found. By targeting these specific locations, you can maximize your chances of uncovering gold deposits.
When selecting a spot, keep an eye out for certain features that can indicate the presence of gold. Look for areas with slow-moving water, as gold particles may settle in these calmer sections. Additionally, large rocks or fallen trees can provide hiding spots for gold, so areas with these features are worth exploring.
blockquote {
background-color: #f9f9f9;
border-left: 10px solid #ccc;
margin: 1.5em 10px;
padding: 0.5em 10px;
}
table {
border-collapse: collapse;
width: 100%;
margin-bottom: 20px;
}
table, th, td {
border: 1px solid black;
padding: 8px;
text-align: left;
}
th {
background-color: #f2f2f2;
}
Using a Pan and Sieve
When it comes to gold panning, having the right tools can significantly improve your chances of success. Two essential tools that every gold prospector should have are a pan and a sieve.
“A pan and sieve are like the bread and butter of gold panning.”
A pan is used for collecting and concentrating the materials you obtain while panning, while a sieve helps separate the larger rocks and debris from the smaller, more valuable materials, such as gold particles.
Choosing the Right Pan
When selecting a pan, it is recommended to opt for a plastic or steel pan. These materials are lightweight and rust-proof, making them ideal for prolonged use in the field. Plastic pans are particularly popular due to their affordability and ease of use.
In addition to the material, consider the size and shape of the pan. A pan with a wide base and deep sides is beneficial, as it provides ample space to work efficiently. It should also have riffles or ridges on the side, which help to catch and retain gold.
Using a Sieve for Efficient Gold Panning
A sieve, also known as a classifier, is a valuable tool for separating materials of different sizes. By using a sieve, you can quickly remove larger rocks and debris from your pan, allowing you to focus on the finer materials that may contain gold.
Here’s how to use a sieve during the gold panning process:
- Fill your pan with the material you collected while panning.
- Hold the sieve over the pan, making sure it covers the entire opening.
- Gently shake the sieve back and forth, allowing the smaller materials to pass through the holes while retaining the larger rocks.
- Inspect the retained materials to see if any gold particles are present.
- Transfer the separated materials into the pan and continue panning to further concentrate the gold.
Using a sieve can help speed up the gold panning process and ensure that you focus on the most promising materials.
| Pan Features | Advantages |
|---|---|
| Plastic or Steel Material | Lightweight, rust-proof |
| Wide Base and Deep Sides | Ample space for efficient panning |
| Riffles or Ridges on the Side | Aids in catching and retaining gold particles |
By using a pan and sieve in your gold prospecting adventures, you can separate the materials more effectively and increase your chances of finding valuable gold particles.
Mastering the Panning Technique
To become proficient in gold panning, it is essential to master the panning technique. This technique involves using a swirling motion to separate the lighter materials from the heavier gold particles, allowing the gold to settle at the bottom of the pan.
Here are some tips to help you perfect your panning technique:
- Practice the Swirling Motion: Start by filling your pan with gravel and submerging it in water. With both hands on the sides of the pan, gently shake it back and forth to begin the swirling motion. Gradually increase the speed and intensity, making sure to maintain a smooth and rhythmic motion.
- Control the Contents of the Pan: As you swirl the pan, the lighter materials, such as sand and gravel, will be carried away by the water. Use your hand or a gentle flick of the wrist to control the movement of the contents, keeping the heavier gold particles in the pan.
- Focus on the Bottom: Pay close attention to the bottom of the pan as you swirl. The gold, being heavier than the surrounding materials, will settle to the bottom. Use the swirling motion to continually separate the lighter materials from the gold, allowing the gold to concentrate at the bottom.
- Avoid Aggressive Movements: While it may be tempting to vigorously shake the pan, doing so can cause the gold to be washed out. Maintain a gentle yet consistent swirling motion to ensure effective gold separation.
Remember, practice makes perfect. Take the time to hone your panning technique and familiarize yourself with the swirling motion. With patience and perseverance, you’ll become skilled at separating gold from other materials and maximizing your chances of finding precious gold nuggets.
Continue reading to discover the final steps and clean-up process after you have finished panning for gold.
Final Steps and Clean-Up
Once you have finished panning for gold, it’s time to complete the final steps and clean up your equipment. This process involves carefully removing the remaining black sand and separating the gold from it. Here’s how to do it:
Step 1: Remove the Black Sand
After you’ve extracted all the gold you can from your pan, you’ll notice black sand residue left behind. Black sand is composed of dense materials like iron and hematite, which tend to sink to the bottom. To remove the black sand, carefully tilt the pan and let the water wash it away. Use gentle movements to ensure you don’t lose any gold during this process.
Step 2: Separate the Gold
Once the black sand is removed, the next step is to separate the gold from the remaining particles. One effective method is to use a magnet, as gold is not magnetic while black sand is. Bring a strong magnet close to the pan, and watch as the magnet attracts and pulls the black sand particles away from the gold.
Alternatively, you can transfer the contents of your pan to a separate container and use tweezers or a snuffer bottle to pick out the gold particles manually.
Step 3: Store the Gold
After separating the gold from the black sand, transfer the gold flakes or nuggets into a bottle or container for safekeeping. Make sure the container is clean and dry to prevent any moisture or contaminants from damaging your precious find. Label the container with the date and location of your panning adventure, as it adds a personal touch to your collection.
Remember to handle your gold with care, as it is a valuable and delicate material. Avoid touching it with bare hands, as the oils and acids from your skin may cause damage over time.
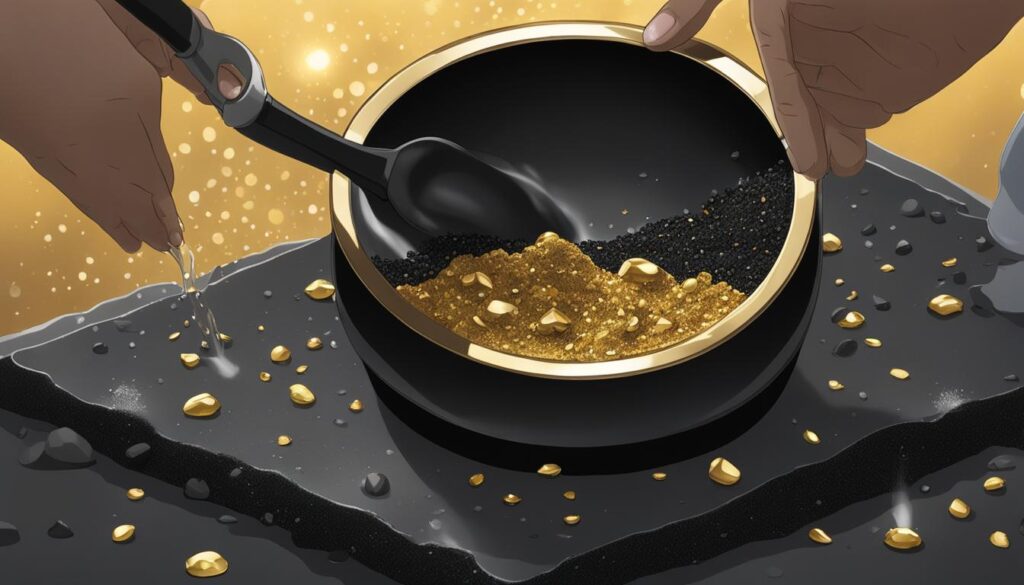
With these final steps completed, you can now marvel at your success in finding gold through the art of panning. Be proud of your accomplishment, and remember to clean and maintain your panning equipment for future adventures. Happy prospecting!
Conclusion
Successfully panning for gold and identifying valuable nuggets requires a combination of knowledge, skills, and a keen eye for the signs that indicate the presence of gold. By paying close attention to rock-type changes, soil color changes, iron staining, eroding rocks, and the presence of various minerals, you can greatly improve your chances of striking gold.
When prospecting for gold, keep an eye out for changes in rock types, as gold deposits are often found where different rocks converge. Additionally, the color of the soil can provide valuable clues, as gold pieces are often mixed in with fine rock and mineral particles that can alter the soil color.
Iron staining can also be a promising sign, indicating the potential presence of gold. Reddish soils or quartz pieces with dark red stains may indicate the presence of gold in the area. Furthermore, eroding rocks and the presence of various minerals commonly associated with gold should not be overlooked, as they can lead you to potential gold deposits.
By following the basic gold panning procedure, including using the right tools, finding the best spot along streams or rivers, and mastering the panning technique, you can increase your chances of finding gold and separating it from other materials effectively. Finally, don’t forget to carefully remove the black sand and transfer the gold into a container for safekeeping.
Source Links
- https://www.goldfeverprospecting.com/gopainlehowt.html
- https://www.wikihow.com/Pan-for-Gold
- https://www.prospectorspatch.com.au/5-signs-to-check-for-gold-pieces-in-rocks-our-prospecting-guide/

Meet Ryan Conlon, the passionate owner and driving force behind Pan for Treasure.
With an unwavering love for the art of gold panning, Ryan has transformed his enthusiasm into a thriving community hub for fellow treasure seekers. [email protected]
A seasoned gold panning enthusiast, Ryan’s journey began with a simple pan and a dream, evolving into a deep appreciation for the history, geology, and thrill of uncovering precious metals.


