Welcome to our comprehensive guide on gold panning techniques for beginners. If you’ve ever dreamed of striking gold and embarking on a thrilling adventure, then you’re in the right place. In this guide, we will take you through the basics of gold panning, providing you with the essential skills and knowledge needed to become a successful gold panner.
Whether you’re a complete novice or have some experience, our step-by-step instructions and expert tips will help you navigate the world of gold panning with confidence. Get ready to learn the techniques that will turn your gold-seeking aspirations into a rewarding reality.
Key Takeaways:
- Master the essential skills of gold panning
- Learn how to properly prepare your gold pan for effective gold recovery
- Discover the washing techniques that help concentrate on gold and remove lighter materials
- Clean and maintain your gold pan to optimize performance
- Inspect and estimate the amount of gold recovered from your pan
Mastering Gold Panning Techniques: Preparing the Pan
Before you begin your gold panning adventure, it’s important to properly prepare your pan to ensure effective gold recovery. By following these essential steps, you’ll be well on your way to becoming a skilled gold panner.
- Choose the Right Pan Size: Selecting the appropriate pan size is crucial for efficient gold panning. A pan that’s too large may make it difficult to control the material, while a pan that’s too small may not allow for sufficient gold recovery. A 10-14 inch diameter pan is recommended for beginners.
- Clean the Pan: To ensure accurate gold recovery, it’s important to clean your pan thoroughly. Remove any grease or debris by scrubbing the pan with a brush and water. Avoid using any cleaning agents that may contaminate the water or affect the gold recovery process.
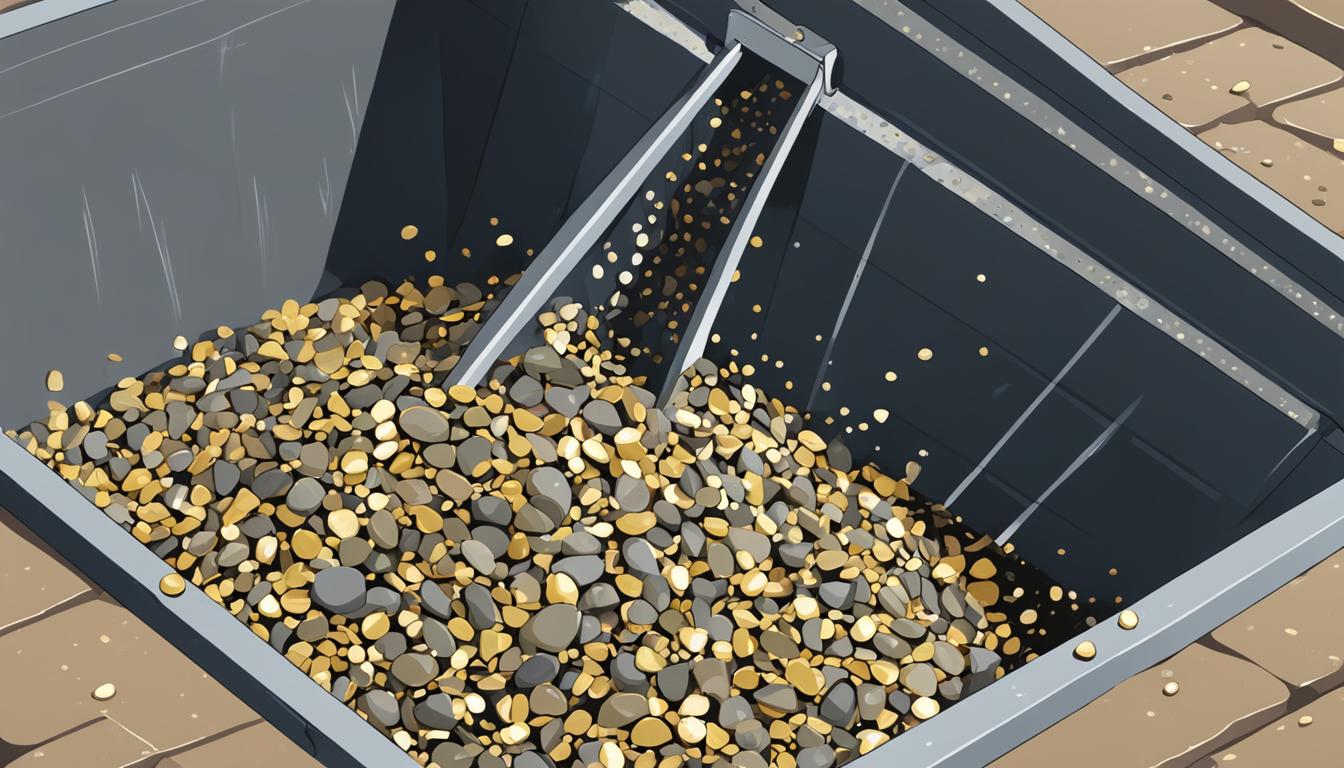
- Remove Rust Preventative Coating: New pans often come with a rust preventative coating, which can hinder the effectiveness of gold panning. Remove this coating by scrubbing the pan with sand or gravel, then rinse it thoroughly.
- Understand Suspension and Stratification: Suspension and stratification are key concepts in gold panning. Suspension refers to keeping the material in the water to prevent the gold from settling to the bottom, while stratification involves allowing the heavier materials to settle first, allowing you to concentrate on the gold.
- Learn Proper Shaking Techniques: Mastering the art of shaking the pan is crucial for successful gold panning. The gentle, side-to-side motion helps separate the heavier gold particles from the lighter material. Practice the shaking technique to enhance your gold recovery.
By preparing your pan properly and understanding the suspension, stratification, and shaking techniques, you’ll be equipped with the foundational knowledge needed for successful gold panning. Let’s move on to the next section and explore the washing process to extract the gold from your pan.
Mastering Gold Panning Techniques: Washing the Pan
Once you have prepared your pan, it’s time to wash away the lighter materials and concentrate on the gold. This section will guide you through the process of adding water to the pan, gently swirling the water to wash away the lighter material, and avoiding excessive agitation to prevent gold loss. Properly cleaning the gold pan after each use is crucial for optimal performance.
When washing the pan, follow these gold panning instructions:
- Add water: Fill your gold pan with water from the stream or a water source nearby. Make sure to leave enough space for the material you will be panning.
- Swirl the water: Gently swirl the water in a circular motion to wash away the lighter material such as sand, gravel, and dirt. The heavier gold particles will settle at the bottom of the pan.
- Avoid excessive agitation: While swirling the water, be cautious not to agitate or shake the pan vigorously. This can cause the gold to be swept out of the pan.
Remember to use these gold panning tips when washing the pan:
- Be patient: Take your time while swirling the water to ensure maximum concentration of gold particles at the bottom of the pan.
- Practice precision: Use a gentle touch to create a controlled swirl and prevent gold loss.
- Inspect the material: Examine the material left in the pan for any signs of gold. Use a magnifying glass to spot tiny gold flakes that may be easily overlooked.
- Pay attention to water level: Avoid overfilling the pan to prevent spilling or washing away potential gold.
Properly washing the pan is essential for separating the valuable gold from the lighter materials. It is a fundamental step in the gold panning process and should be performed with care to maximize your chances of success.
| Gold Panning Tips | Benefits |
|---|---|
| Be patient | Allows for proper settling of gold particles |
| Practice precision | Minimizes the risk of losing gold during the washing process |
| Inspect the material | Identify gold flakes that may be easily overlooked |
| Pay attention to water level | Prevents spilling or washing away potential gold |
Mastering Gold Panning Techniques: Cleaning the Gold Pan
Keeping your gold pan clean and free from residual material is essential for optimal performance. After each panning session, it’s important to properly clean and maintain your gold pan to ensure its longevity and effectiveness. Follow these steps to clean your gold pan:
- Dispose of Concentrated Material: Start by carefully disposing of the concentrated material left in your gold pan. This can be done by gently shaking the pan and allowing the unwanted material to wash away with the water. Avoid discarding the material into natural water sources, as it may contain harmful chemicals.
- Remove Remaining Material: Once the concentrated material has been disposed of, rinse the pan with water and use your fingers or a soft brush to remove any remaining material stuck to the pan’s surface. Pay close attention to the riffles and corners of the pan, as debris tends to accumulate in these areas.
- Dry and Store the Pan: After cleaning, thoroughly dry the gold pan to prevent rust or damage. You can air-dry it or use a towel to speed up the process. Once dry, store the pan in a cool, dry place to protect it from moisture and other potential sources of damage.
By regularly cleaning and maintaining your gold pan, you’ll ensure its optimal performance and extend its lifespan. Remember to always clean your pan in a responsible manner and follow any local regulations regarding the disposal of waste material.
Follow these simple instructions to keep your gold pan in top shape and ready for your next gold panning adventure.
| Cleaning Steps | Benefits |
|---|---|
| Dispose of concentrated material | Prevents build-up of unwanted material |
| Remove remaining material | Ensures optimal performance |
| Dry and store the pan | Prevents rust and damage |

Inspecting the Pan and Estimating Gold Recovered
After panning, it’s important to inspect your pan and estimate the amount of gold you have recovered. This section will guide you through the process of examining the concentrate for gold presence, using a magnifying glass to spot tiny gold flakes, and estimating the amount of gold recovered through visual inspection.
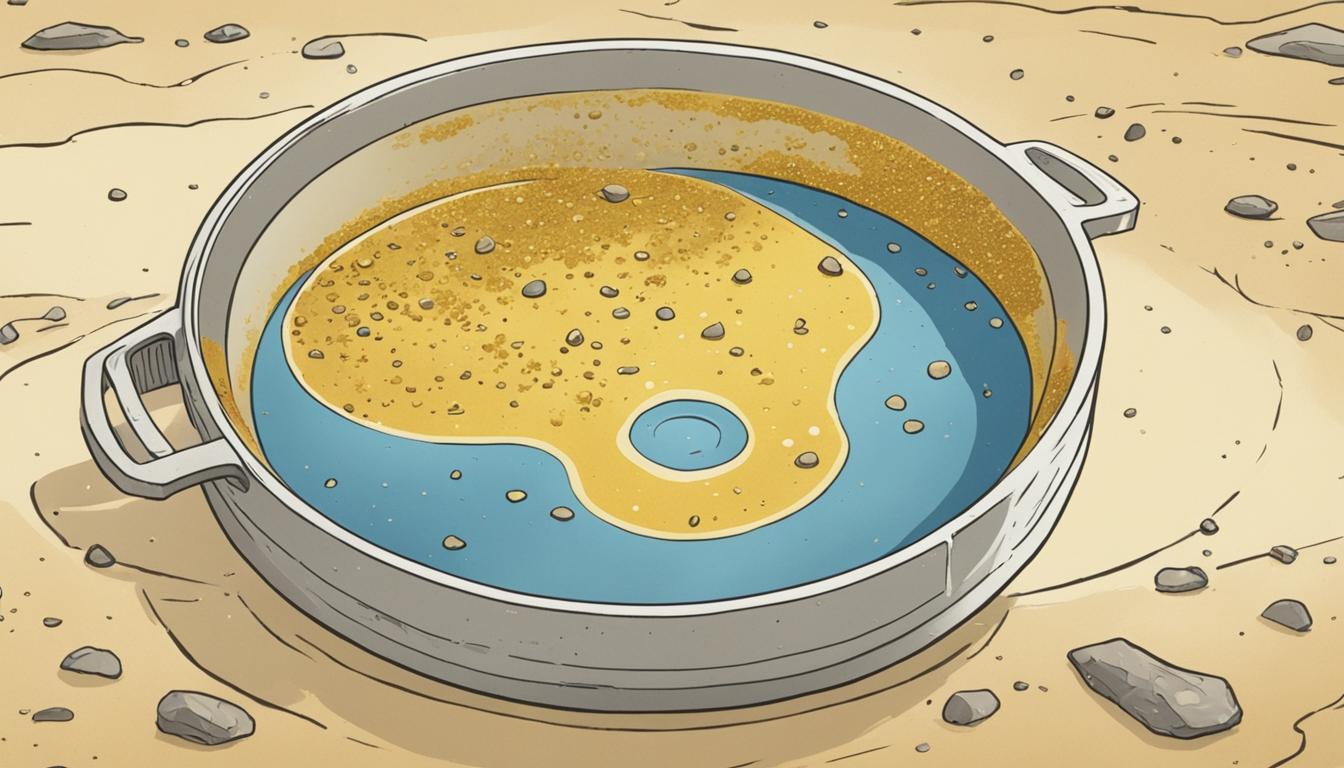
Once you have finished your panning process, carefully examine the concentrate left in your pan. Gold can often be found at the bottom of the pan, mixed with other heavy materials. Use a magnifying glass to spot the gleaming yellow flakes that indicate the presence of gold. Be patient and thorough in your inspection, as gold can be easily overlooked.
Estimating the amount of gold recovered can be an exciting part of the gold panning experience. While it may not provide an exact measurement, visual inspection can give you a sense of your success. Compare the amount of gold you have found to the size of your pan. The more gold you see, the more successful your panning technique has been.
Remember that gold is heavy and will sink to the bottom of your pan, so it’s essential to thoroughly inspect all the concentrate. In some cases, you may find smaller flakes of gold that are difficult to see without a magnifying glass. These tiny specks can add up to a significant amount of gold, so pay close attention to detail.
Inspecting the pan and estimating the gold recovered is an exciting part of the gold panning process. It allows you to see the fruits of your labor and provides a sense of accomplishment. Remember to be patient and thorough during your inspection, paying attention to even the smallest gold flakes. Happy prospecting!
Removing Gold from the Pan
Congratulations! You have successfully recovered gold from your pan. Now it’s time to carefully extract the gold, making sure not to lose any precious particles. Follow these steps to safely remove and store your collected gold.
Using Tweezers
One method to remove gold from the pan is by using tweezers. The fine tips of the tweezers allow for precise handling of small gold flakes or nuggets. Gently grasp the gold with the tweezers and carefully lift it out of the pan.
Using a Snuffer Bottle
Another effective tool for gold extraction is a snuffer bottle. A snuffer bottle is designed to suction up small gold particles without disturbing the remaining material in the pan. Simply squeeze the bottle to create suction, and position the tip of the bottle near the gold. Release the pressure to capture the gold inside the bottle.
Remember to be patient and take your time when using tweezers or a snuffer bottle. It’s important to handle the gold with care to prevent any accidental loss.
Transferring the Gold
After removing the gold from the pan, it’s time to transfer it to a vial or container for safekeeping. Avoid using plastic containers as they can create static electricity that may cause the gold to cling to the sides.
TIP: To prevent the gold from sticking to the container, coat the inside with a thin layer of baby oil or vegetable oil. This will create a non-stick surface and make it easier to remove the gold when desired.
Remember to label your vial or container with the date and location of the gold panning expedition for future reference and nostalgia.
Here’s an image to illustrate the process of removing gold from the pan:

| Method | Description |
|---|---|
| Using Tweezers | Precisely grasp the gold with tweezers and carefully lift it out of the pan. |
| Using a Snuffer Bottle | Create suction with the snuffer bottle and capture the gold inside. |
| Transferring the Gold | Transfer the gold to a vial or container for safekeeping, coating the inside with a non-stick substance if desired. |
By following these techniques, you can successfully remove the gold you’ve recovered and store it safely for future enjoyment or potential use.
Choosing the Right Equipment
When it comes to gold panning, having the right equipment can make all the difference in your experience and success. Here, we’ll explore the different types of gold pans and the benefits they offer. We’ll also discuss the advantages of using a perforated pan or sieve and why a safety pan is a smart choice. In addition, we’ll emphasize the importance of mastering the shaking technique and provide some helpful tips to shake your pan effectively.
Types of Gold Pans
Gold pans come in various shapes, sizes, and materials. Let’s take a closer look at each type:
- Steel Pans: These pans are durable and great for heavy-duty use. They can withstand rugged conditions, making them suitable for seasoned gold panners.
- Plastic Pans: Lightweight and inexpensive, plastic pans are the go-to choice for beginners. They are easy to handle and ideal for learning basic gold panning techniques.
- Green Pans: These pans have special riffles designed to trap gold and improve recovery. They are highly efficient and recommended for experienced gold panners.
The Benefits of Perforated Pans and Sieves
A perforated pan or sieve can greatly enhance your gold panning experience. Here’s why:
By using a perforated pan or sieve, you can quickly remove larger rocks and debris, allowing you to focus on the smaller particles that may contain gold. This speeds up the panning process and increases your chances of finding valuable gold.
The Advantages of a Safety Pan
A safety pan is a valuable tool that offers several advantages:
- Minimizes Gold Loss: A safety pan is designed to prevent gold from escaping while you shake or tilt the pan. This reduces the risk of losing precious gold particles during the panning process.
- Improves Efficiency: With a safety pan, you can pan more efficiently without worrying about losing gold. You can confidently shake the pan and focus on capturing the gold without unnecessary distractions.
- Comfort and Convenience: Safety pans are ergonomically designed for comfort and ease of use. They often come with features like textured bottoms and non-slip handles, providing a secure grip throughout the panning process.
Mastering the Shaking Technique
The shaking technique is a fundamental skill in gold panning. Here are some tips to help you master it:
- Keep a Steady Rhythm: Maintain a consistent shaking rhythm to allow the heavier gold particles to settle to the bottom of the pan.
- Avoid Vigorous Shaking: While it may be tempting to shake vigorously, doing so may result in losing gold. Gentle and controlled shaking is key to effective gold recovery.
- Use Your Wrist: Use your wrist, not your whole arm, to shake the pan. This allows for better control and precision during the panning process.
Now that you understand the importance of selecting the right gold panning equipment, you’re ready to take your gold panning skills to the next level. In the next section, we’ll delve into where to find gold and the fundamental principles of gold panning. Stay tuned!
Where to Find Gold and Gold Panning Principles
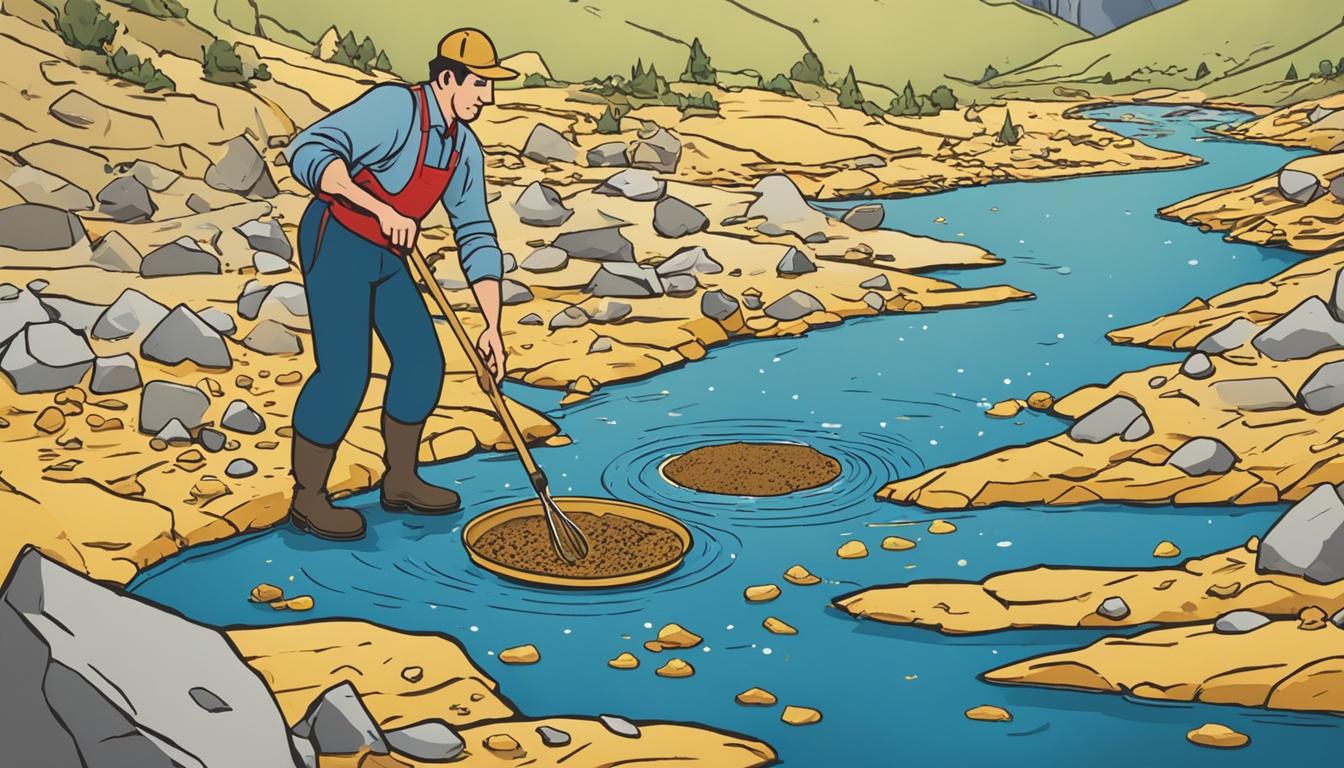
In your quest for gold, it’s essential to know where to look. There are several areas known for their gold deposits, especially alluvial gold. These areas include rivers, streams, and creeks where gold has been naturally deposited. Researching historical gold mining sites and consulting with local experts can significantly increase your chances of finding gold-rich locations.
Now that you’ve found a potential gold panning spot, it’s important to understand the principles behind the technique. Gold panning relies on the force of gravity to separate heavy gold particles from the lighter material. When properly executed, this technique allows you to capture and collect the gold, leaving the less valuable material behind.
The Importance of Riffles
To aid in gold recovery, many modern gold pans are equipped with riffles. Riffles are grooves or ridges that capture the heavy gold particles, trapping them while allowing the lighter material to flow out of the pan. These riffles act as barriers, preventing the gold from escaping and maximizing your chances of success.
Types of Gold Panning Techniques
There are two primary gold panning techniques: wet panning and dry panning. Wet panning involves submerging the pan in water, ideally in a flowing stream, and gently shaking it to wash away the lighter material. Dry panning, on the other hand, is done without water, using the shaking technique to separate the gold from the surrounding material. Both techniques have their advantages and are worth exploring, depending on your location and personal preferences.
Understanding these gold panning principles and techniques will enhance your gold prospecting experience. Let’s now explore some practical applications of gold panning principles in the following table:
| Gold Panning Principle | Practical Application |
|---|---|
| Gravity separation | Separating heavy gold particles from lighter material |
| Using riffles | Capturing gold particles while allowing lighter material to flow out |
| Wet panning | Submerging pan in water, gently shaking to wash away lighter material |
| Dry panning | Shaking pan without water to separate gold from surrounding material |
Mastering gold panning techniques is a fascinating and rewarding endeavor. Now that you have a good understanding of where to find gold and the principles behind gold panning, you’re equipped with the knowledge to embark on your own adventure.
Conclusion
Congratulations on completing this comprehensive guide on gold panning techniques for beginners. With the knowledge and skills you’ve acquired, you’re now ready to embark on your own exciting gold panning adventures. Whether you choose to explore shimmering rivers, glistening creeks, or even historic mining areas, the thrill of discovering gold is within your reach.
As you start your gold panning journey, always remember to respect the environment and follow all local laws and regulations regarding gold panning. Preserve the natural beauty of the landscapes you visit and leave no trace behind. By practicing responsible gold panning, you contribute to the sustainability of this rewarding activity for future generations.
Keep refining your techniques through practice and perseverance. Each gold panning excursion offers valuable opportunities to fine-tune your skills and gain a deeper understanding of the craft. Embrace the continuous learning process, and don’t be discouraged if you don’t strike it rich on your first try. Remember, the joy and fulfillment lie in the journey itself, not just the gold.
Now, armed with this beginners gold panning guide and the desire for discovery, venture forth and embrace the allure of gold panning. May your pans be filled with glimmering treasures and your heart be filled with the excitement of the prospectors of old. Happy gold panning!
Source Links
- https://panandprosper.com/gold-panning-techniques/
- https://raregoldnuggets.com/?p=417
- https://www.minelab.com/__files/f/271800/4901-0210-3 Inst Sheet, PRO-GOLD EN_WEB.pdf

Meet Ryan Conlon, the passionate owner and driving force behind Pan for Treasure.
With an unwavering love for the art of gold panning, Ryan has transformed his enthusiasm into a thriving community hub for fellow treasure seekers. [email protected]
A seasoned gold panning enthusiast, Ryan’s journey began with a simple pan and a dream, evolving into a deep appreciation for the history, geology, and thrill of uncovering precious metals.