
Effective gold pan usage comes down to three things: filling the pan right, breaking the material loose underwater, and washing off the light stuff in stages so the gold has time to sink. Get those three right and you will keep the color that most beginners wash straight over the lip.
Most people lose gold because they rush the wash and tip the pan too steep. Slow down, keep the heavy concentrates pinned against the bottom, and you double your recovery without buying a single new tool.
TL;DR
- Fill to three-quarters: pack the pan about ¾ full of classified gravel, no more, or you cannot control the wash.
- Break it up underwater: submerge the pan and shake side to side for 15 to 20 seconds to free gold from clay and packed sand.
- Wash in stages: tilt slightly, swirl, and let the top layer float off a little at a time instead of dumping it all at once.
- Tap between washes: a few firm taps on the pan bottom settles gold back down before every tilt.
- Finish with back panning: a wave of water rocked across your black sand concentrate separates flour gold from the rest.
- Plastic pan for fine gold: green or black plastic with molded riffles beats a smooth metal pan for spotting small color.
- Dig where water slows: inside bends, behind boulders, and cracks in bedrock hold the heaviest material.
Selecting the Right Gold Pan for Effective Gold Pan Usage
The pan you pick changes how much fine gold you keep. Two materials dominate the market, plastic and metal, and they behave differently in the water.
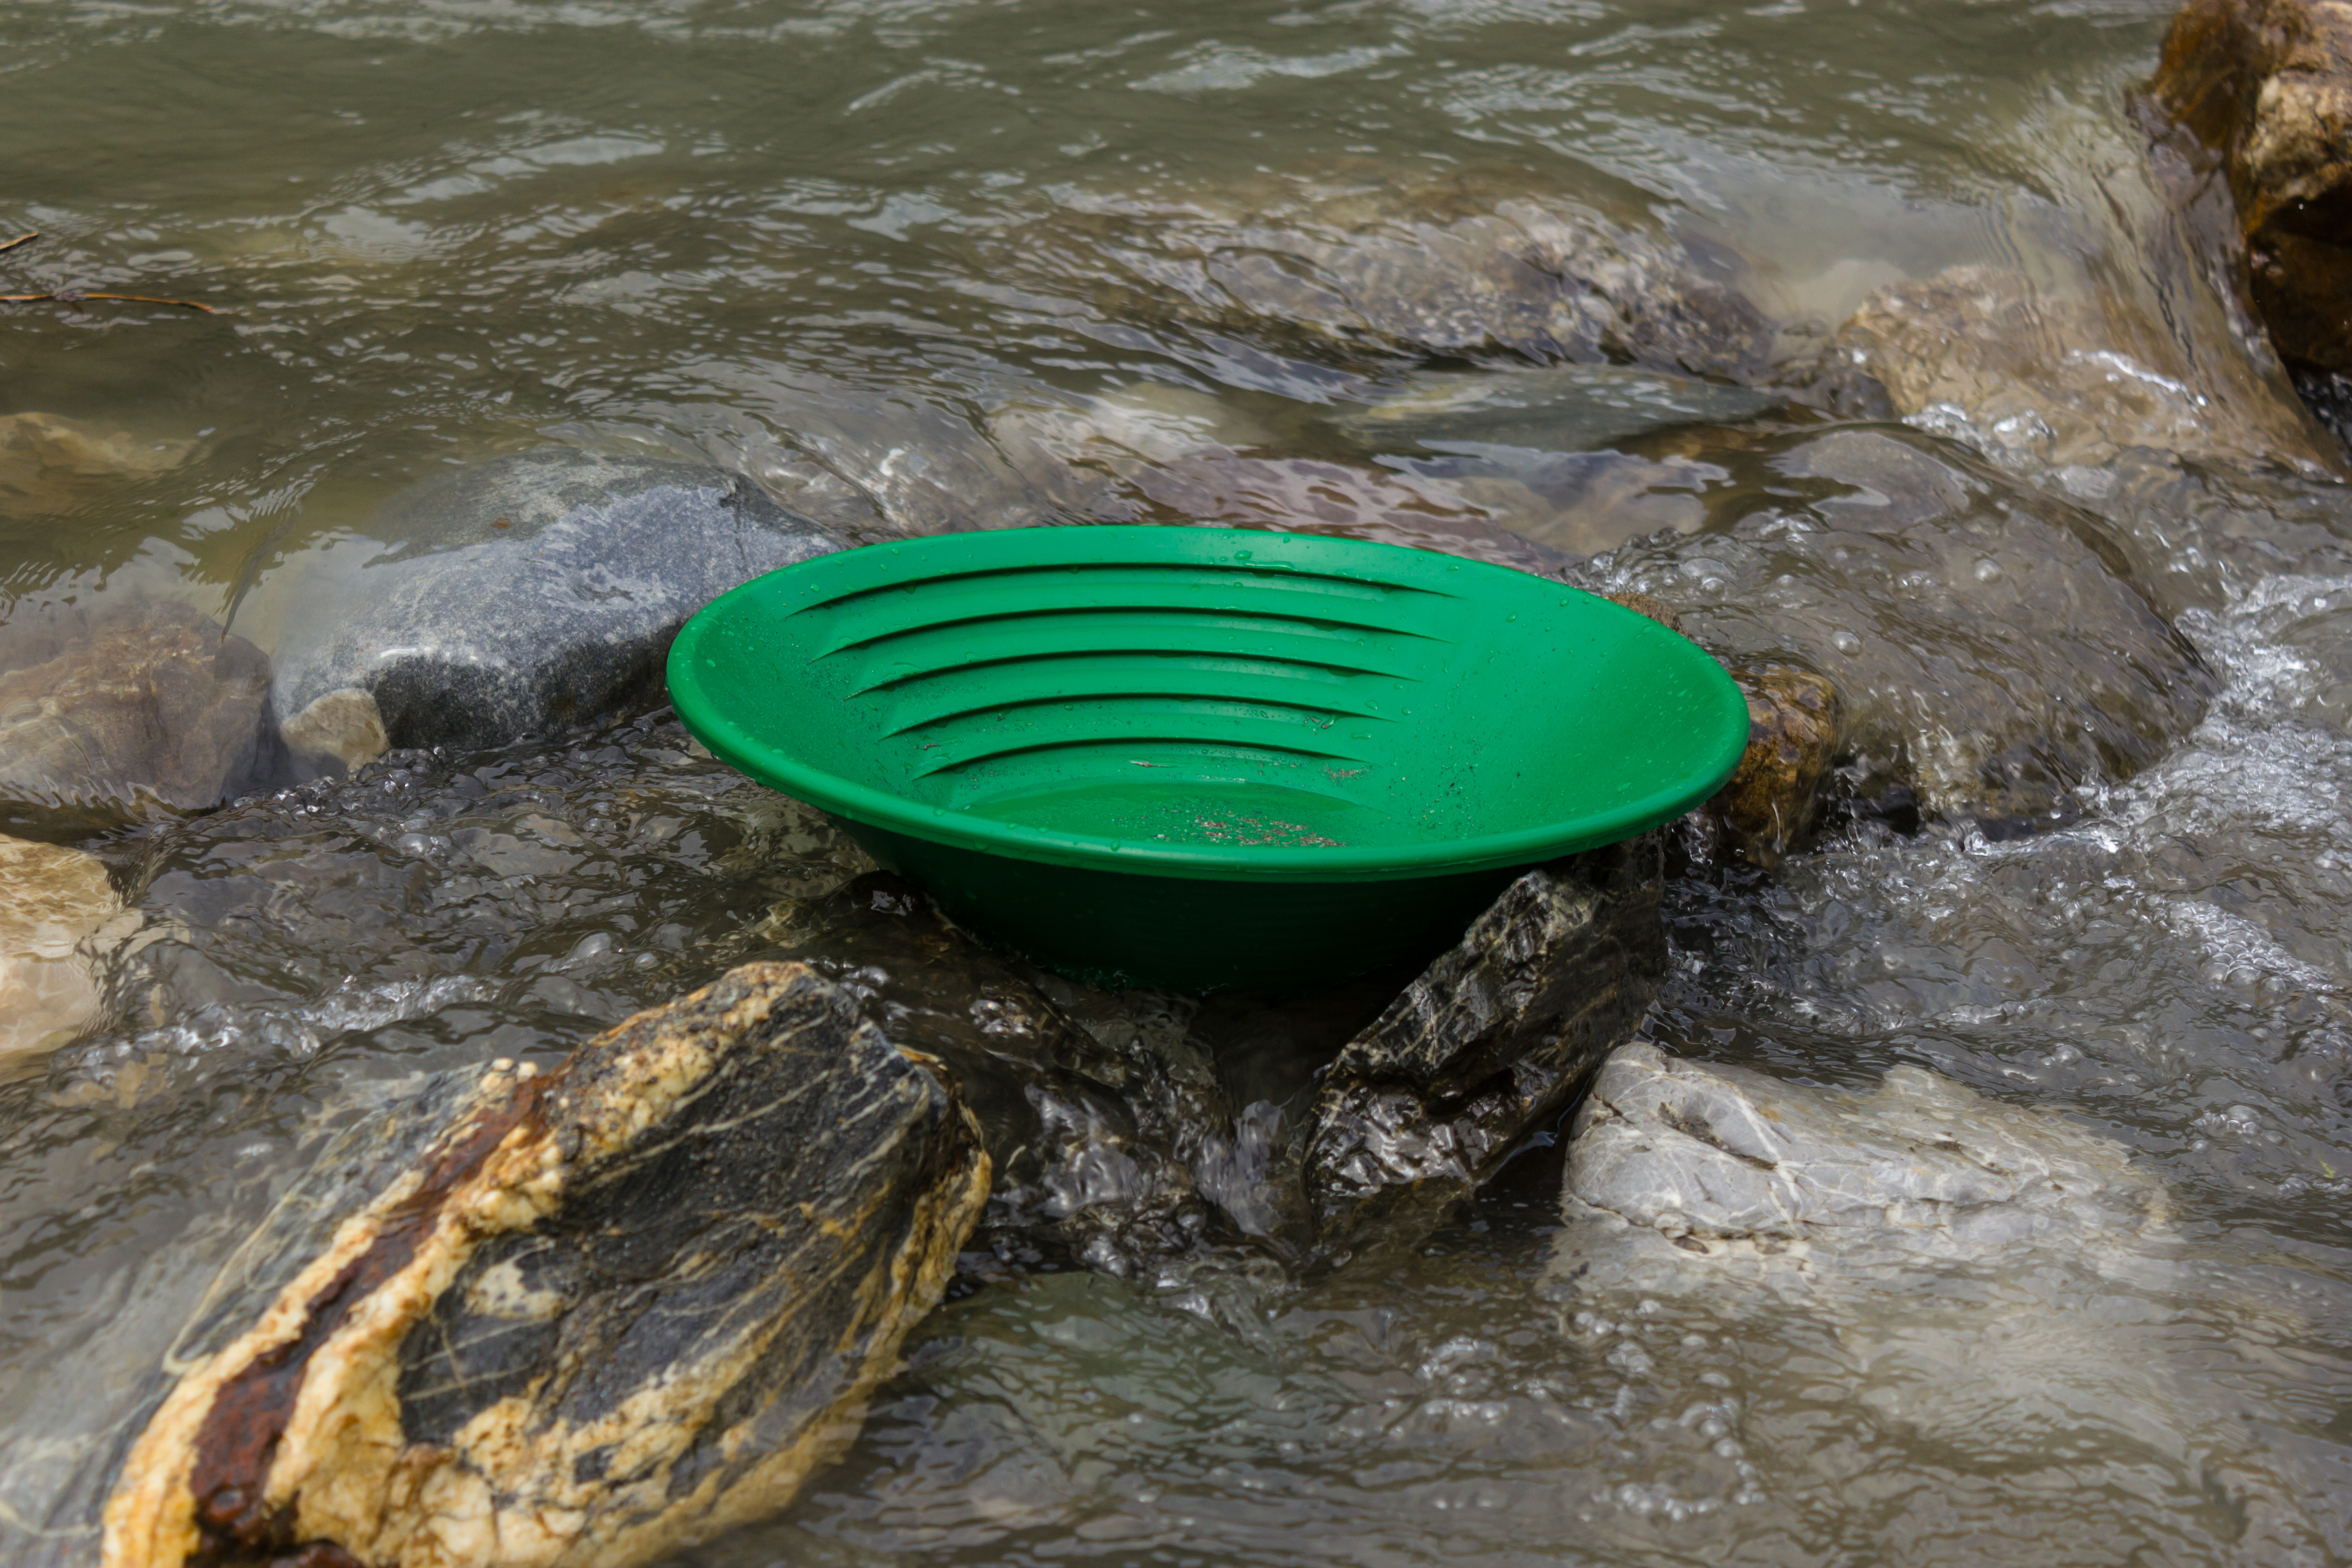
Plastic pans are the better choice for almost everyone. They run 10 to 14 inches across, weigh almost nothing, never rust, and the molded riffles along one side trap fine gold that a smooth pan lets slide.
Green and black plastic also help you see color. A speck of gold shows up sharp against a dark pan bottom, while black sand hides against a shiny steel surface.
Metal pans have their place. They shrug off heat, so you can burn oils off a used pan in a campfire, and they take abuse without cracking when plastic gets brittle below freezing. The tradeoff is that bare steel needs seasoning, since the oily mill finish makes gold float right off until you heat it blue or scrub it hard.
For fine placer gold, which is what most creeks give up, a ribbed plastic pan wins. Keep a metal pan for rough digging and for burning contaminants out of your concentrates.
Prepping Your Pan Before You Start
A dirty pan loses gold to surface tension. Oil, sunscreen, and grease off your hands all make water bead up and carry fine flakes over the edge.
- Degrease it: wash a new pan with dish soap and hot water, or heat a metal pan until any coating burns off, then let it cool.
- Match the size to the work: a 14-inch pan moves more dirt per pan but tires your wrists faster than a 10-inch pan over a long day.
- Use the riffles: keep the ribbed side away from you so material washes toward the riffles, not away from them.
- Classify first: run your dirt through a classifier screen so you are panning sand and small gravel, not fist-sized rocks that just get in the way.
A pan is one piece of your kit. A classifier set, a snuffer bottle, and a good shovel all earn their spot, and heavier gear like a sluice box comes into play once you want to process more material than a pan can handle.
Plastic vs Metal Pan Comparison
| Feature | Plastic Pan | Metal Pan |
|---|---|---|
| Weight | Very light, easy all day | Heavier, more wrist fatigue |
| Fine gold visibility | High (dark color contrast) | Low on shiny steel |
| Molded riffles | Yes, traps flour gold | No, must add or rely on skill |
| Cold-weather durability | Can get brittle below freezing | Handles cold and rough use |
| Prep required | Quick soap wash | Must season or burn off oils |
| Best use | Fine placer gold, beginners | Rough digging, burning concentrates |
Our Favorite Posts
- Sluice Box Efficiency An Essential Tool for Efficient Gold Recovery
- Sluicing Best Practices Capture 95% of Gold in High-Flow Conditions
- Choosing the Right Gold Pan Avoid 3 Beginner Mistakes That Cost Gold
- Advanced Panning Equipment Professional Tools Worth the Investment
- Gold Pans Selection Pick Perfect Size for Your Conditions
The Digging Process: Where the Gold Actually Sits
Gold is about 19 times heavier than water and far heavier than the sand around it, so it drops out the moment the current slows. Read the creek for those slow spots and you dig less dirt for more color.
Inside bends collect gold because the water loses speed on the shorter inner curve, while the outside scours clean, so skip it. Behind boulders and downstream of any obstruction, the water forms a dead pocket where heavy material piles up, and those pockets are worth digging down into, not just skimming.
Bedrock is the prize. Gold sinks until it hits something it cannot pass, so cracks and crevices in bedrock trap the coarsest gold in the creek. Work a crevice tool or a flathead screwdriver into those cracks and scrape right down to clean rock. That packed material at the very bottom, often a gray clay layer, holds gold that has been settling there for years.
Getting Paydirt Into the Pan
- Dig to bedrock or the clay layer wherever you can reach it, since that is where the heavy gold has settled.
- Clean the crevices with a crevice tool and a small brush so you get the fine material packed into the cracks.
- Classify as you fill to keep big rocks out of the pan, which speeds up every wash and cuts gold loss.
- Fill to three-quarters, never to the brim, so you have room to work the material without spilling.
How to Pan: The Wash, Step by Step
This is where effective gold pan usage is won or lost. The whole sequence takes a couple of minutes per pan once you have the rhythm.
- Submerge and break it up. Sink the loaded pan just under the surface and shake it back and forth for 15 to 20 seconds. This dissolves clay and lets gold start working toward the bottom.
- Pick out the big rocks. Grab any pebbles that rode along, rinse them into the pan so you do not toss gold stuck to them, and discard.
- Tilt and swirl. Angle the pan slightly away from you and use a gentle circular swirl combined with a forward tilt to carry the top layer of light sand over the lip.
- Tap and settle. Every few swirls, level the pan and tap the bottom firmly a few times. This drives gold back down under the sand before you wash again.
- Repeat in stages. Keep washing off thin layers, tapping between each one, until you are down to a spoonful of dark concentrate.
- Read the tail. As the sand thins, gold shows as a bright trail at the low edge of your concentrate. It stays put while the black sand moves. Real gold does not sparkle and shift like mica; it sits heavy and holds its color even in shade.
The mistake that costs beginners gold is tilting too steep and washing too fast, because water rushing across a steep pan carries fine gold out with the sand. Keep the pan close to level and let the weight difference do the work. Cold water matters too: below about 45°F, clay stays stubborn, so give muddy material extra time underwater before you wash.
Recommended Reading
The Back Panning Technique for Fine Gold
Once you are down to black sand concentrate, back panning pulls out the flour gold that normal washing leaves mixed in, mimicking the wave action of a Miller table with nothing but your pan.
Pool the material into one corner by tapping, so you have a tight pile of black sand and gold, not a spread-out layer. Add just a thin film of water, enough to move but not flood the concentrate, then rock the pan gently so a small wave washes back and forth across the pile.
The wave carries the lighter black sand forward and leaves a fan of gold trailing behind. Rock, tap, and let the black sand creep away a little at a time, and the gold stays pinned at the back edge.
This is the method for finishing super concentrates and recovering fine gold, the flour-sized flakes that a snuffer bottle then sucks straight out of the pan.
Why Back Panning Works
- Separates by weight, gently: the slow wave gives gold time to lag behind the lighter black sand instead of washing out with it.
- Recovers flour gold: the tiniest flakes that a normal wash loses stay in the pan.
- No extra gear: you finish concentrates with the pan you already have instead of a spiral wheel or blue bowl.
- Perfect for black sand: it shines exactly when you have a heavy magnetic concentrate that is hard to clean any other way.
Pans and Sluices
- Sluicing Best Practices Capture 95% of Gold in High-Flow Conditions
- Choosing the Right Gold Pan Avoid 3 Beginner Mistakes That Cost Gold
- Sluice Box Efficiency An Essential Tool for Efficient Gold Recovery
- Advanced Panning Equipment Professional Tools Worth the Investment
- Gold Pans Selection Pick Perfect Size for Your Conditions
Finding Good Water to Pan
The best spots are creeks with a documented placer history, because gold keeps arriving there every spring melt and after every big storm. Look for slower water deep enough to submerge your pan, with boulders and fallen trees that create the eddies where gold drops.
Before you dig, know the rules for that ground, since public land, private land, and active claims all carry different restrictions. A little homework, like checking the California rules or your own state’s, keeps you legal.
Placer-Rich Waters by State
| State | Well-Known Panning Waters |
|---|---|
| California | Yuba River, American River, Kern River |
| Alaska | Nome area creeks, Crow Creek, Chicken area |
| Colorado | Clear Creek, Cache Creek, Arkansas River headwaters |
| Montana | Libby Creek, Missouri River, Bannack area |
| Arizona | Lynx Creek, San Domingo Wash |
| Georgia | Dukes Creek, Dahlonega area streams |
For picking a productive stretch of any of these, our guide on selecting a panning location walks through reading the water in detail.
Resources for Gold Pan Usage and Placer Prospecting
- U.S. Geological Survey Mineral resource and placer geology data for locating gold-bearing districts.
- Bureau of Land Management, Mining and Minerals Rules for recreational panning and mining claims on federal land.
- U.S. Forest Service Minerals Guidance on prospecting and panning within National Forests.
- Gold Prospectors Association of America (GPAA) Club claims, outings, and beginner instruction.
- TreasureNet Forums Community threads on panning technique, including detailed back panning discussion.
Putting It All Together
Gold panning rewards patience over speed. Fill to three-quarters, break the material apart underwater, wash off the light stuff in thin stages with a tap between each, and finish with a slow back-panning wave. Dig where the current dies, clean the bedrock crevices, and keep the pan clean so surface tension does not steal your fine gold.
Master these basics and effective gold pan usage becomes second nature, turning a scoop of creek gravel into a snuffer bottle that actually rattles with color.
Frequently Asked Questions – Effective Gold Pan Usage
How full should I fill my gold pan?
About three-quarters full of classified gravel. Any more and you cannot control the wash, which is exactly when fine gold escapes over the lip.
Is a plastic or metal pan better?
Plastic for most work. It is light, rust-proof, shows fine gold against its dark color, and has molded riffles that trap flour gold. Keep a metal pan for rough digging and for burning oils out of concentrates.
Why do I keep losing my fine gold?
Usually two reasons: tilting the pan too steep so water rushes the sand out, and skipping the tap step that settles gold back down. Slow down, keep the pan near level, and tap firmly between every wash.
What is back panning?
It is a finishing technique for black sand concentrate. You pool the material in one corner, add a thin film of water, and rock a small wave across it, which carries light black sand away and leaves the gold trailing behind.
Do I need to prep a new pan before using it?
Yes. New pans carry oils that make gold float. Wash a plastic pan with dish soap and hot water, or heat a metal pan to burn the coating off, then cool it before use.
How do I tell real gold from fool’s gold in the pan?
Real gold sits heavy and holds its color even in shade, and it does not move when you nudge the pan. Mica and pyrite sparkle only in direct light and shift around when the water moves.
Does water temperature affect panning?
It does. In cold water below about 45°F, clay stays clumped and takes longer to break apart, so give muddy material extra time underwater before washing so the clay releases its gold.
⛏ Recommended Gear ⛏


* As an Amazon Associate I earn from qualifying purchases at no extra cost to you.
Subscribe to Our Newsletter

Ryan Conlon is the founder of Pan for Treasure.
A lifelong gold panning enthusiast, he created this site to help beginners learn the ropes and share practical tips from his own time on the creek. [email protected]