

Solid sluicing best practices boil down to five habits: pick water with real current, set about 1 inch of drop per foot of box, classify everything you feed, feed in small steady scoops, and clean up before the riffles pack.
A prospector who follows those five habits will hold most of the recoverable gold in nearly any creek, including fast spring flows that wash out sloppier setups.
This is the full field routine, from picking the spot to bagging the concentrates.
TL;DR
- Place the box in a venturi. Look for spots where the creek narrows and the current visibly accelerates, not just deep fast water.
- Set 1 inch of drop per foot. Then tune by eye: riffles half loaded and lively means correct, buried means too flat, bare means too steep.
- Classify to half inch or finer. Screened feed runs cleaner, holds more fine gold, and stops rocks from plowing your concentrates.
- Feed half scoops. Let each scoop clear before the next; a buried riffle is a riffle that has stopped catching.
- Watch the last riffle. Any color showing up in the bottom third of the box means gold is escaping and something needs adjusting.
- Clean up every 1 to 3 hours. Packed black sand kills exchange. Regular cleanups beat marathon runs every time.
- High flow is your friend once tuned. Strong spring current lets you flatten the angle and run gentler over the riffles while still clearing waste rock.
Picking the Spot: Where the Creek Does the Work
The creek supplies your water power, so site selection decides half your results before you feed a single scoop.
Walk the stream and look for pinch points: places where the channel narrows between rocks and the surface water visibly speeds up. Toss a leaf in and watch it. If it covers 3 feet in about a second, you have workable current.
Depth matters too. You want 4 to 8 inches of water at the feed end, enough to submerge the flare and drive the riffles, shallow enough that you can anchor the box with rocks and still see everything.
Avoid the temptation of deep pools. The surface may look quick, but the water at box level is often nearly dead, and a sluice in dead water is just a metal tray collecting sand.
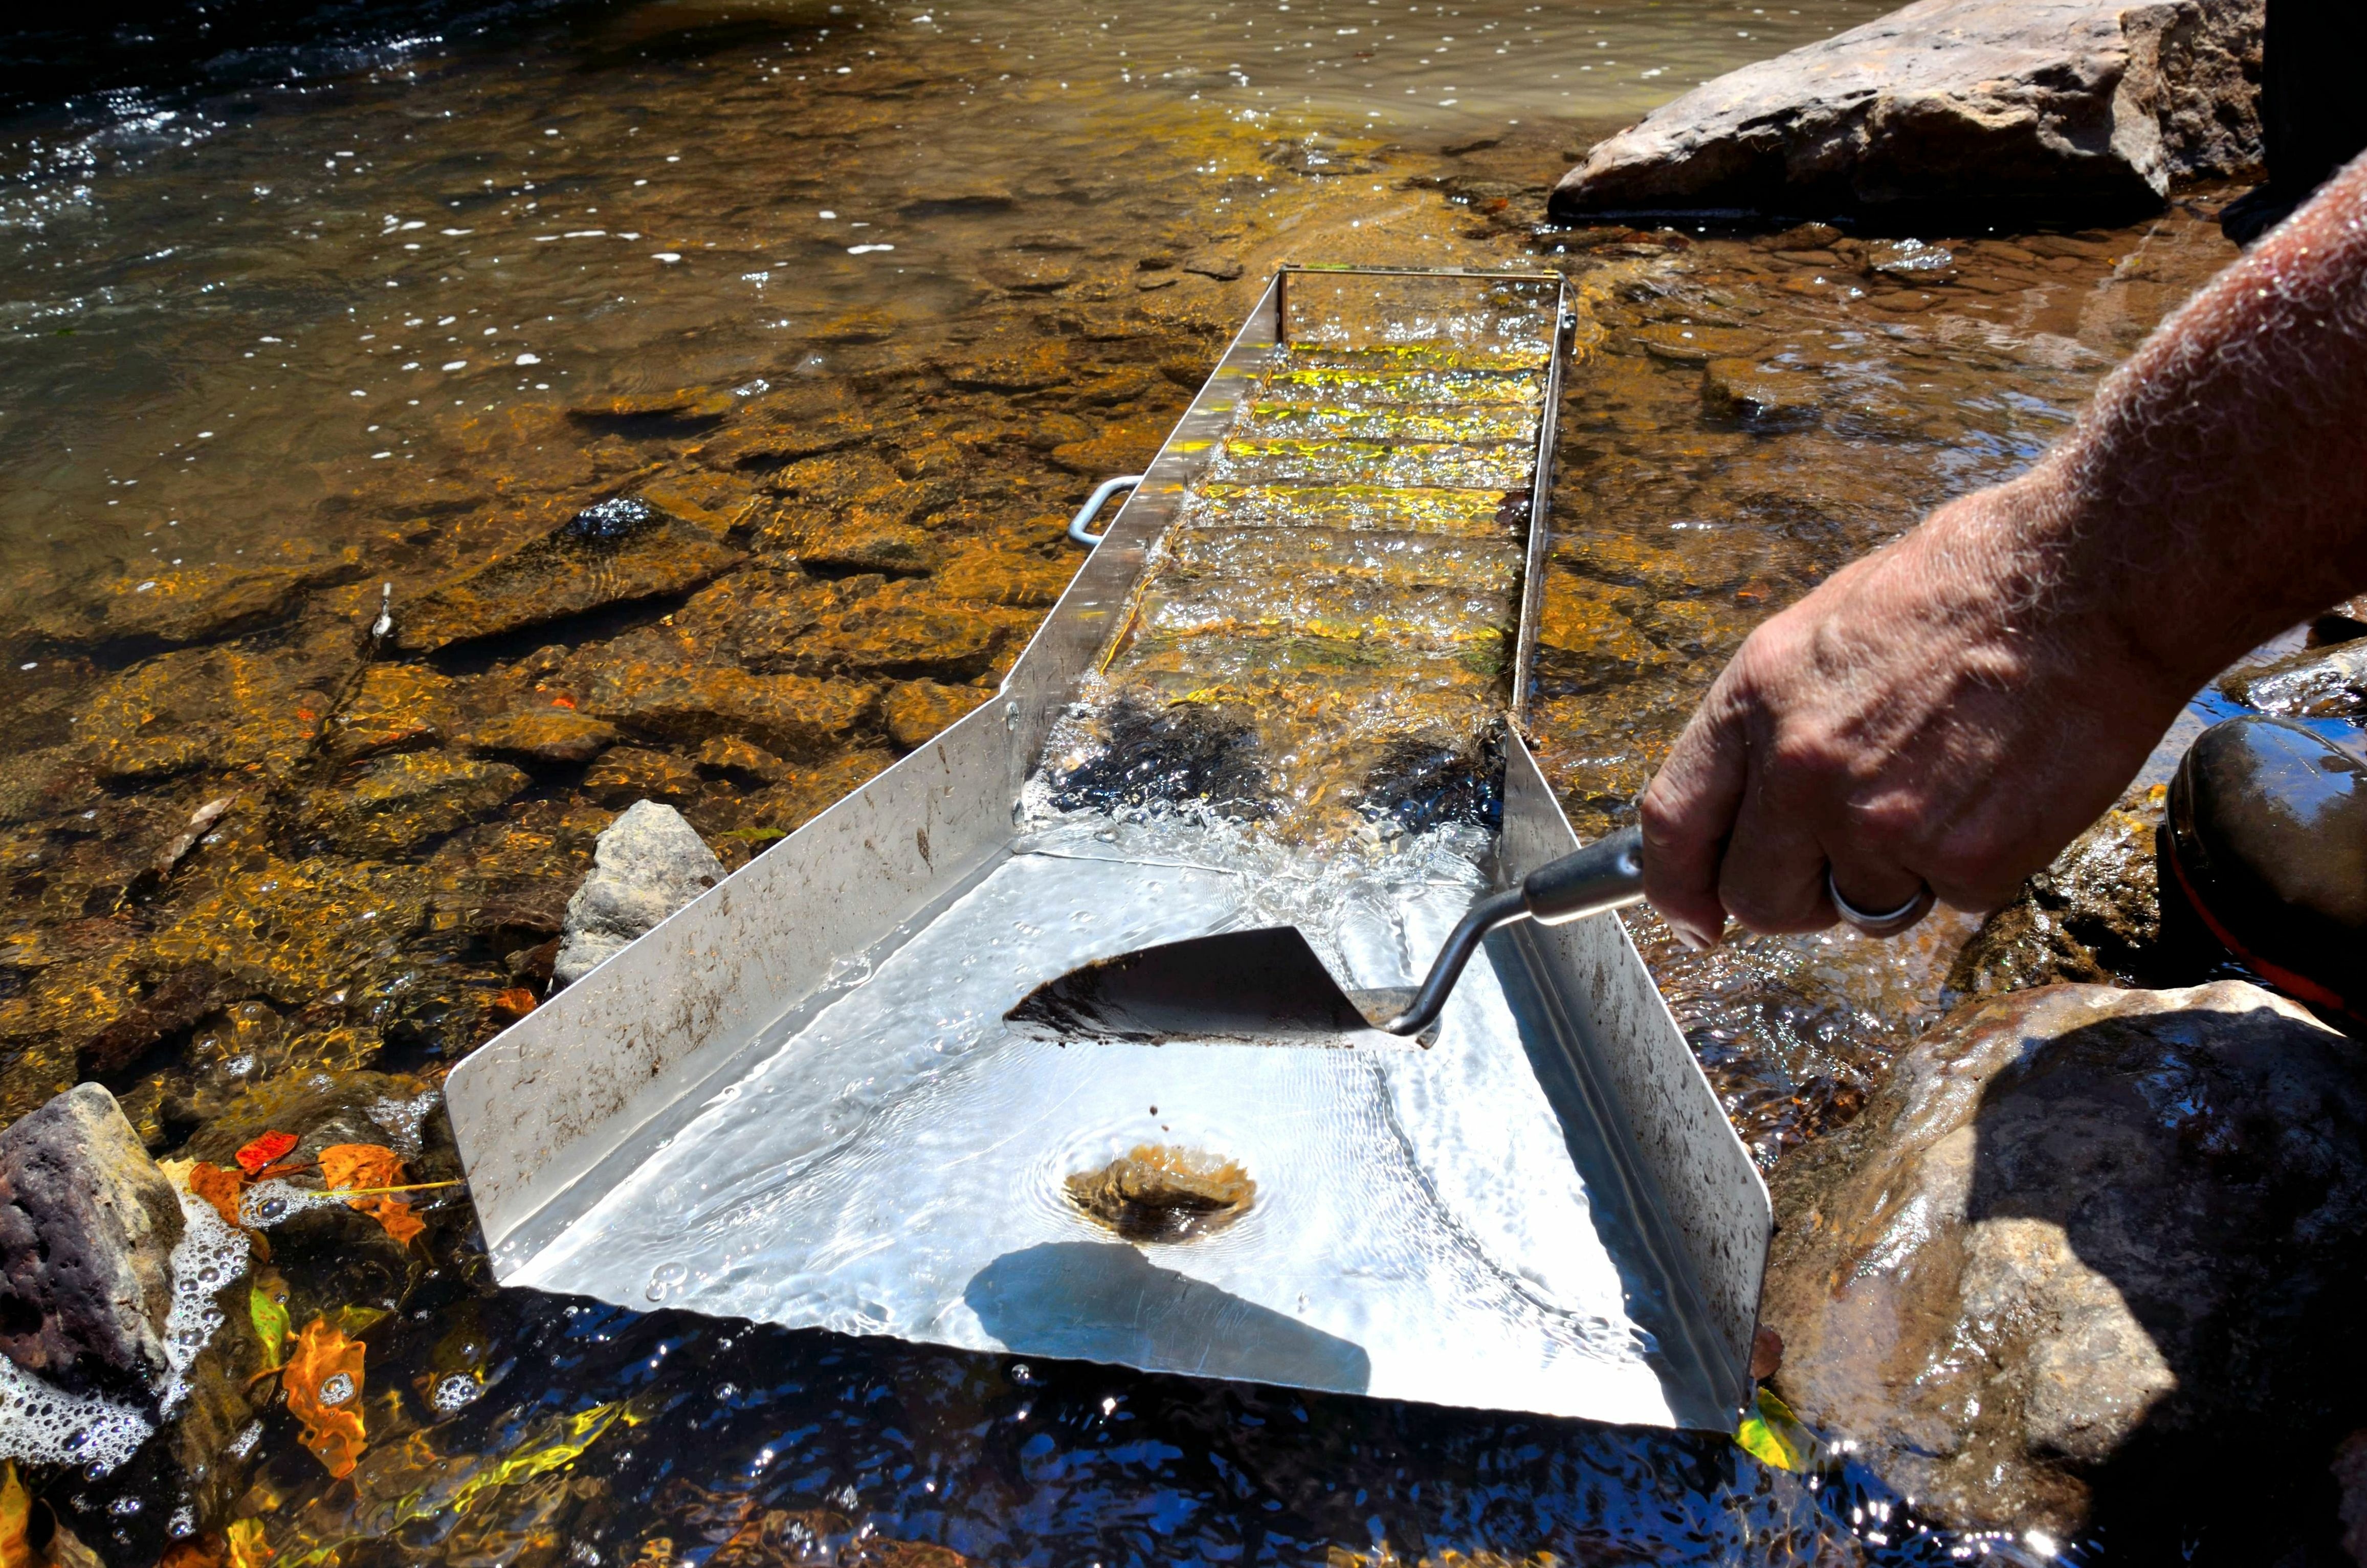
Set the box parallel to the current, feed end upstream, and pin it with heavy rocks along both rails. A box that shifts mid run dumps its concentrates, and it always happens right after you found the first picker.
One more habit that separates experienced sluicers from beginners: dig where the gold is, not where the sluicing is comfortable. Set the box in the best water within carrying distance of your dig site, even if that means a bucket brigade. Our guide to selecting the ideal panning location covers how to read a creek for pay gravel.
Our Favorite Posts
Sluicing Best Practices for Setup and Angle
Angle controls water velocity through the box, and velocity controls everything else.
The classic starting point is 1 inch of drop per foot of box. For a 36 inch stream sluice, prop the discharge end so the feed end sits about 3 inches higher.
From there, tune by reading the riffles rather than measuring:
- Run clear water for a minute and drop in a test handful of classified gravel.
- Watch how it clears. Light material should sweep through in a few seconds while heavier sand piles loosely behind the riffles.
- If sand buries the riffles completely and stays, steepen the box slightly or find faster water.
- If the riffles scrub bare and nothing accumulates behind them, flatten the box because your fine gold is leaving with the sand.
- Recheck after the first 20 minutes of real feeding, since boxes settle and water levels shift.
The picture you want: each riffle about half loaded, with the material behind it visibly churning and exchanging. Old timers call that live bed. Packed, motionless material is dead bed, and dead bed catches nothing.
Water depth over the riffles should run roughly 1 to 2 inches. More than that and the vortexes lose grip on the bed; less and larger pebbles start hanging up.
Classify the Feed or Lose the Fines
Classification means screening your gravel to a uniform size before it enters the sluice, and it is the highest value step most beginners skip.
Here is the physics in one sentence: a flow strong enough to move a 2 inch rock through the box is strong enough to rip flour gold off the mats, so removing the 2 inch rocks lets you run gentler water and keep the flour.
A half inch classifier sitting on a 5 gallon bucket is the standard rig. For streams known for fine gold, classify again to quarter inch and run that material as a separate, gentler batch.
Unclassified feed causes three specific losses. Big rocks gouge the bed and eject settled gold as they tumble through. Oversize material forces a steeper angle than the fine gold can survive. And clay balls ride through intact, carrying their gold with them.
Speaking of clay: break it up in the bucket before feeding. Knead lumps underwater until they dissolve, because a marble of clay can carry a surprising amount of fine gold straight out the discharge end. Our gold classifiers guide covers mesh sizes and stacking setups in detail.
Recommended Reading
Feed Rate and Running the Box
Feed with a garden trowel or small scoop, not a shovel. Half a scoop at a time, placed gently into the flare, and wait until the surge mostly clears before the next.
The rhythm feels slow the first day. It is still five times faster than panning, and every scoop is actually being processed instead of skating over a buried bed.
While you feed, keep scanning three checkpoints:
- The flare: material should spread evenly across the box width, not channel down one side. Re-level side to side if it channels.
- The mid riffles: loose, dancing bed with black sand streaks forming in the vortex pockets.
- The last two riffles: these are your alarm. Heavy black sand or any color here means the box is overloaded, too steep, or overdue for cleanup.
When the creek is running high in spring, use the extra power. Flatten the angle a notch and enjoy a gentler ride over the mats while the stronger current still flushes waste rock. High flow with a flat, tuned box is the best fine gold combination there is; high flow with a steep box is a gold cannon aimed downstream.
Pans and Sluices
- Choosing the Right Gold Pan Avoid 3 Beginner Mistakes That Cost Gold
- Advanced Panning Equipment Professional Tools Worth the Investment
- Gold Pans Selection Pick Perfect Size for Your Conditions
- Effective Gold Pan Usage Double Your Recovery with These Secret Moves
- Gold Panning vs Sluicing Comparison Which Recovers More Gold Per Hour
Reading Problems Before They Cost You Gold
Every sluicing problem announces itself in the bed if you know what to look for.
| What You See | What It Means | The Fix |
|---|---|---|
| Riffles packed solid, no movement | Angle too flat, flow too weak, or cleanup overdue | Steepen slightly, find faster water, or clean up now |
| Riffles scrubbed bare | Angle too steep or water too fast | Flatten the box or move to gentler current |
| Material channeling down one side | Box not level side to side | Shim the low rail with flat stones |
| Black sand at the discharge end | Overfeeding or bed is saturated | Slow the feed, schedule the cleanup |
| Clay balls exiting intact | Unbroken clay in the feed | Knead clay in the bucket before feeding |
| Gold in tailings test pan | Combination of the above | Stop, retune, test again before resuming |
That last row is the habit worth building: pan a sample of your tailings once an hour. Two or three specks in a tailings pan is normal life; a consistent string of color means your setup is leaking and the fix is worth ten times the interruption.
Black sand deserves its own mention because it behaves like a slow leak. Magnetite is heavy enough to load the riffles but not heavy enough to protect gold underneath it once the pockets saturate. If your creek runs rich in black sand, shorten your cleanup cycle. See our guide to dealing with black sand for the full treatment.
Cleanup: Getting the Gold Out Without Losing It
Clean up every 1 to 3 hours of steady feeding, or immediately whenever the bed packs.
The routine that loses the least gold:
- Stop feeding and let clear water run for 2 to 3 minutes to sweep the light sand through.
- Lift the box smoothly, keeping it level, and carry it to a wash tub or large bucket.
- Release the riffle tray and rinse it into the tub, then peel the matting and knead it underwater until it stops shedding material.
- Rinse the bare box floor into the same tub. Everything goes into one container.
- Let the tub settle, pour off most of the water slowly, and bag the concentrates for finishing.
Finish concentrates at home in a tub where nothing escapes, working them down with careful panning. Our guide to mastering fine gold recovery covers the final stage, and the general tuning principles are in our article on sluice box efficiency.
Two cleanup habits pay off over a season. First, keep a magnet in your kit and pull magnetite out of dried concentrates before the final pan. Second, note in your phone which riffles held the most gold each cleanup, because that pattern tells you whether your tuning is drifting.
A quick legal note: dredging and motorized sluicing are restricted or permit-only in many states, and some streams close seasonally to protect fish spawning. Hand sluicing is broadly allowed on most public prospecting land, but check the rules for your state and the specific waterway before you set up.
Resources for Sluicing Prospectors
- USGS: Prospecting for Gold in the United States – how placer deposits form and concentrate in streams.
- BLM Mining and Minerals Program – casual use prospecting rules on BLM managed land.
- US Forest Service – national forest mineral regulations and district office contacts.
- Gold Prospectors Association of America – claims open to members and local chapter outings where you can watch tuned sluices run.
- TreasureNet Forums – field reports and cleanup threads from sluicers across the country.
Conclusion
Sluicing rewards routine over gadgets. The prospector who classifies, feeds slowly, and pans a tailings sample every hour will out-recover the one with twice the gear and none of the habits.
Set the drop at an inch per foot, keep the bed alive, and clean up before the riffles pack.
Run that routine for a few weekends and these sluicing best practices will turn into instincts you no longer have to think about.
Frequently Asked Questions – Sluicing Best Practices
What is the correct angle for a sluice box?
About 1 inch of drop per foot of box length as a starting point. Fine tune by watching the riffles: half loaded and churning is right, buried is too flat, scrubbed bare is too steep.
How deep should the water be over the riffles?
Roughly 1 to 2 inches. Deeper water weakens the vortexes behind the riffles, and shallower water lets pebbles hang up on them.
Should I classify material before sluicing?
Yes, to half inch at minimum. Classified feed lets you run gentler water, which is where fine gold recovery lives, and it keeps big rocks from plowing out your concentrates.
How do I know if my sluice is losing gold?
Pan a sample of your tailings every hour or so. A couple of specks is normal; steady color in the tailings means the angle, flow, or feed rate needs adjusting.
How often should I clean up a sluice box?
Every 1 to 3 hours of steady feeding, or as soon as the material behind the riffles packs solid. Black sand heavy creeks need shorter cycles.
Can I sluice in fast spring water?
Yes, and it can work in your favor. Flatten the angle so the strong current runs gently over the mats while still clearing waste rock. Anchor the box well and mind your footing.
Do I need a permit to use a sluice box?
Hand sluicing is allowed casual use on much public land, but several states restrict it and motorized equipment usually needs a permit. Check your state agency and the specific stream before setting up.
Why is clay a problem when sluicing?
Clay balls travel through the box intact and carry fine gold trapped inside them. Knead clay lumps apart underwater in your bucket before feeding.
⛏ Recommended Gear ⛏


* As an Amazon Associate I earn from qualifying purchases at no extra cost to you.
Subscribe to Our Newsletter

Ryan Conlon is the founder of Pan for Treasure.
A lifelong gold panning enthusiast, he created this site to help beginners learn the ropes and share practical tips from his own time on the creek. [email protected]