The essential gold panning equipment for beginners comes down to a handful of tools that cost very little and will find real gold your first weekend, and the good news is you don’t need the expensive gear to start. A pan, a classifier, a shovel, and a way to save the fine gold is the whole list.
I’ve started plenty of beginners at the creek, and the ones who do well aren’t the ones with the most gear, they’re the ones who learn to read water. This guide covers the tools you actually need and how to use them, without the upsell.
TL;DR
- A dark 14-inch plastic pan is the core tool. The color makes gold visible and the size moves real material.
- A classifier is your best early purchase. Screening off the rocks speeds every pan and stops gold loss.
- A round-point shovel and a small trowel handle the digging. The trowel works the tight bedrock spots.
- A snuffer bottle and glass vials save the gold you find. Fine gold escapes without them.
- Read the river before you dig. Gold drops where water slows, so work bends, boulders, and bedrock.
- Dress for cold water. Neoprene gloves keep you working past the first numb hour.
Featured
Essential gold panning equipment for beginners
The pan is where every beginner starts, and it does the final separation no matter what else you own. Get a 12 to 14-inch plastic pan in green or black, because the dark color makes even tiny gold flakes stand out and the plastic won’t rust like old steel pans.
The riffles molded into one side are what trap the gold as you wash, so choose a pan with deep, sharp riffles rather than shallow ridges. Those riffles catch the heavy gold while the light sand washes over them.
| Tool | What to get | Rough job |
|---|---|---|
| Gold pan | 14 in, plastic, dark, deep riffles | Final separation |
| Classifier | 1/2 in screen over a bucket | Removes rock, speeds panning |
| Shovel | Round-point steel head | Digs and moves material |
| Trowel / crevice tool | Small, sturdy | Works bedrock cracks |
| Snuffer bottle | Soft squeeze, fine tip | Recovers fine gold |
| Glass vials | Glass, tight caps | Stores your finds |
The gold pan and shovel
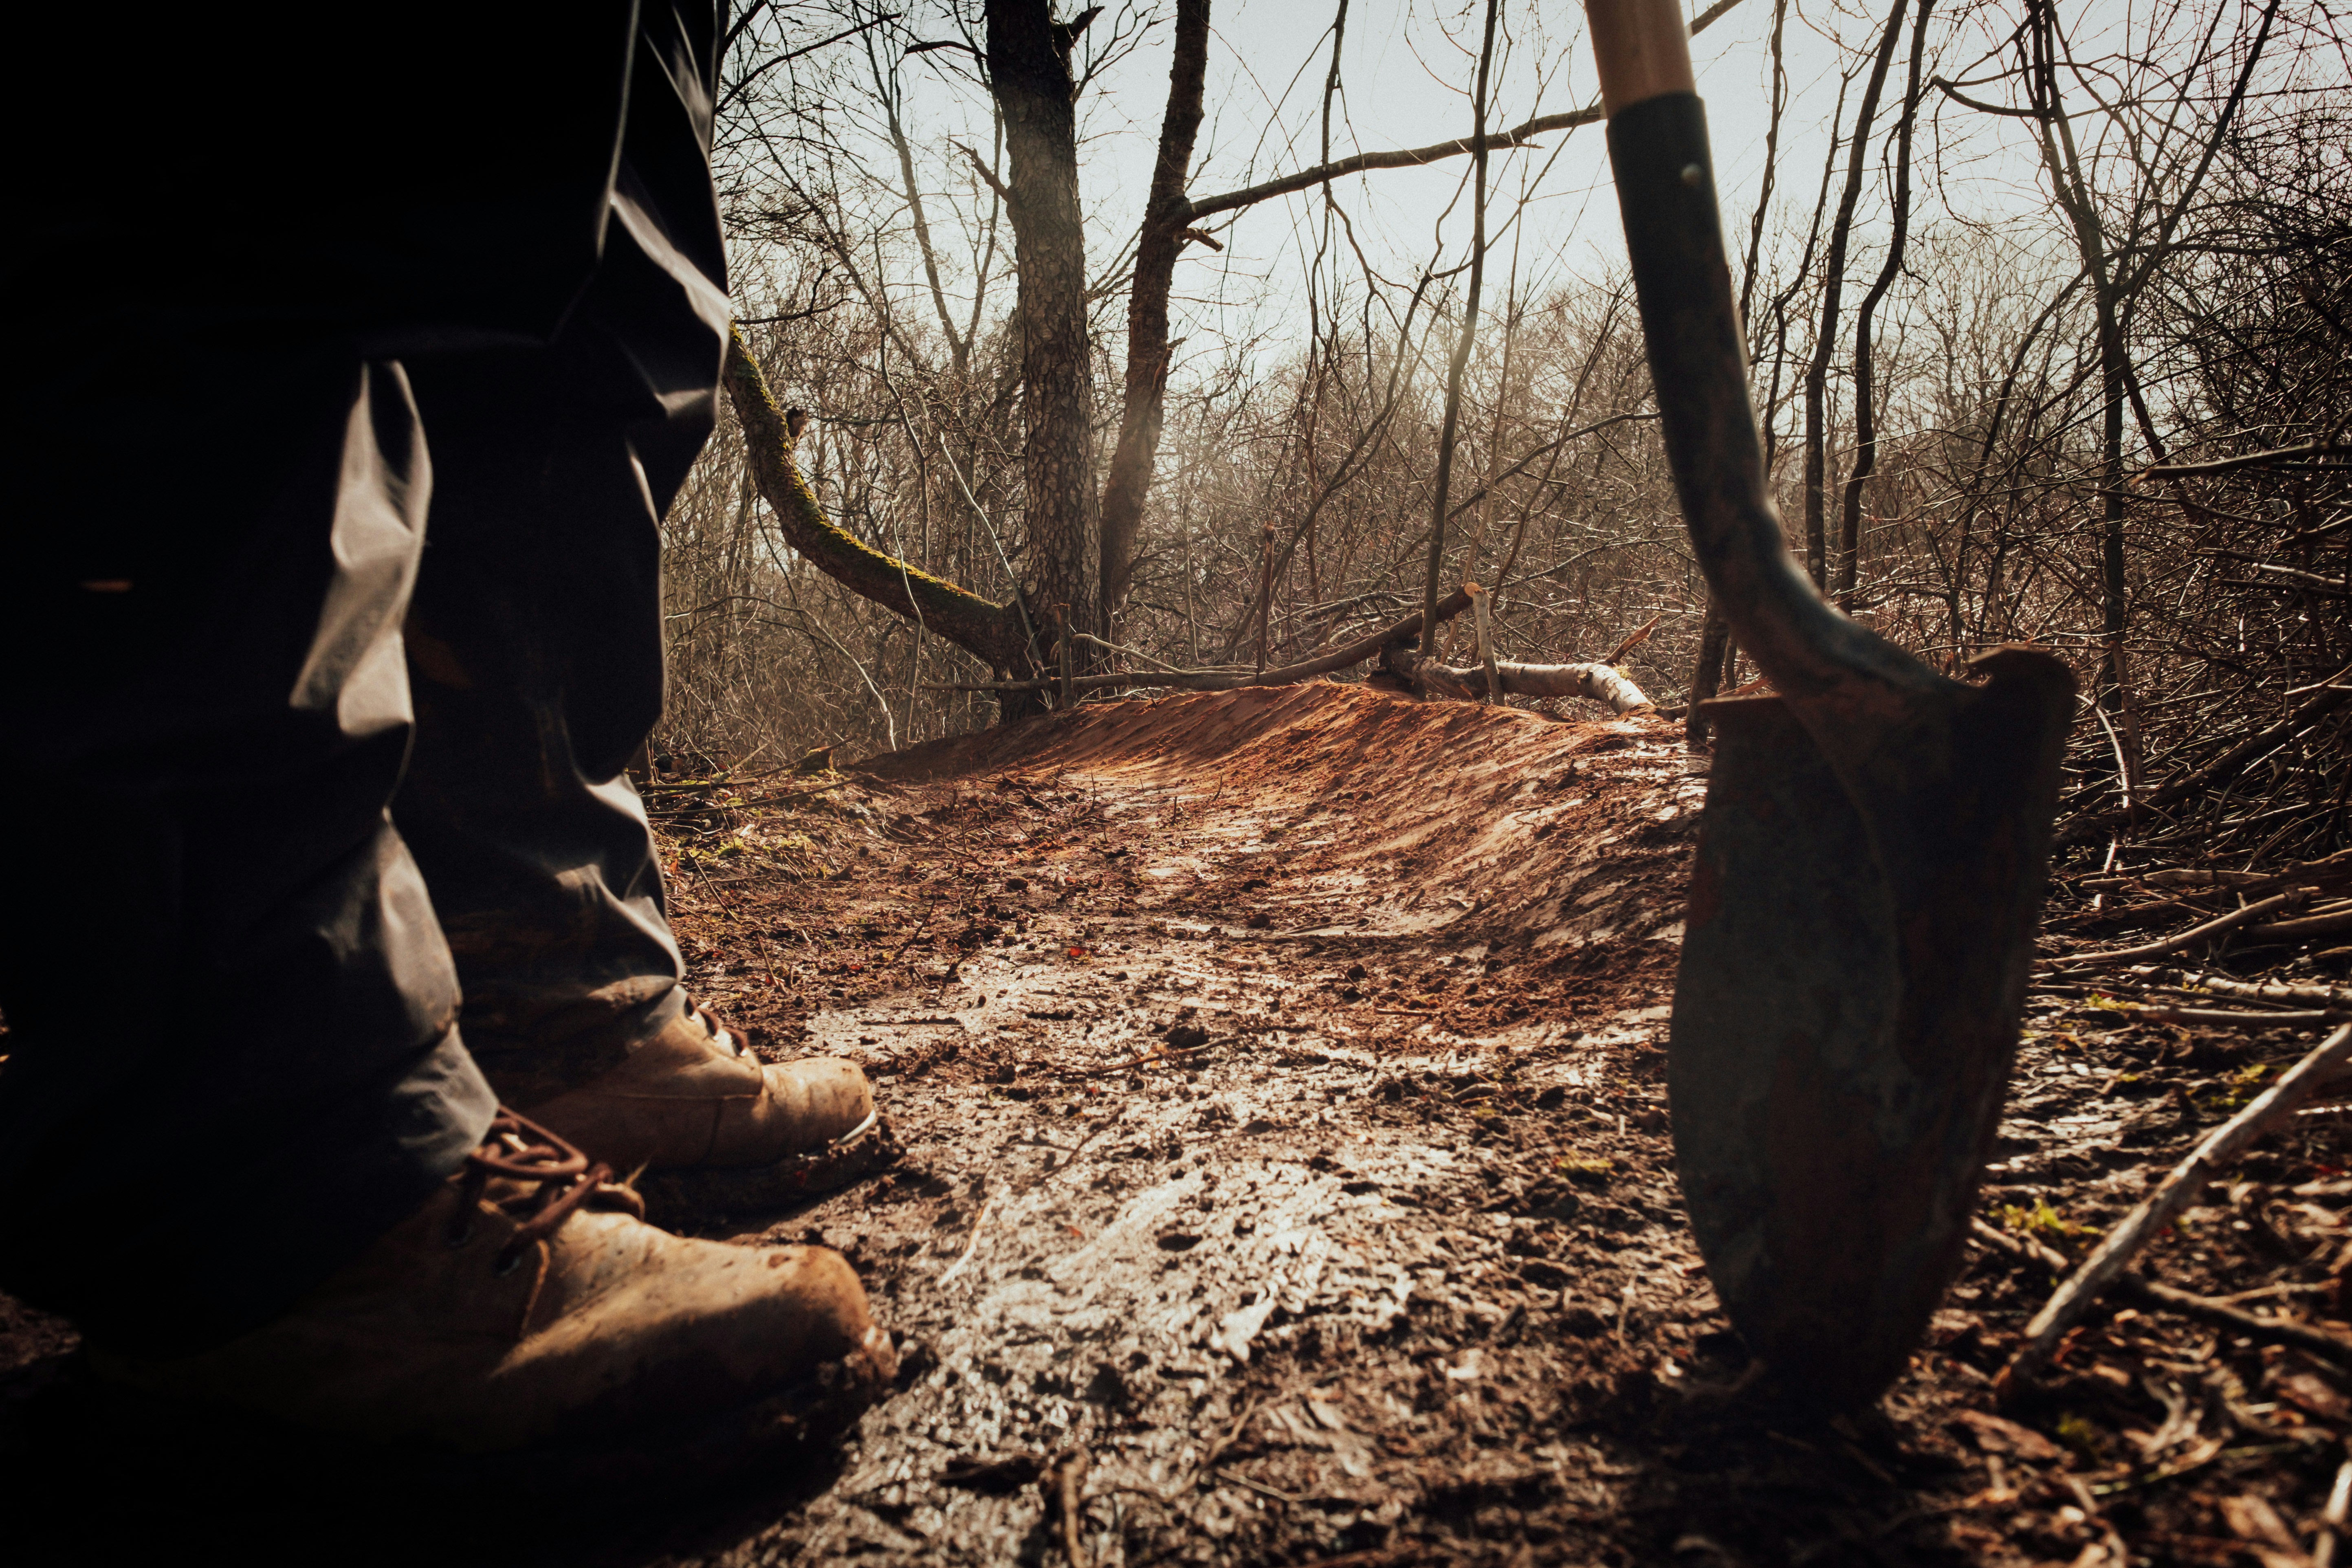
A shovel matters more than beginners expect. A full-size round-point shovel with a solid steel head digs and moves material without bending, while a small trowel handles the close work around bedrock where the gold hides.
Match the shovel to your trip. Hiking in, a compact but sturdy shovel saves your back on the walk, and near the truck, a full handle gives more prying power in packed gravel. See our shovel selection guide for the details.
Proper attire is equipment too
Clothing is gear when the water is cold, and creek water runs 40 degrees or colder in spring even on a warm day. Numb hands drop pans and lose gold, so neoprene gloves are the single best clothing upgrade a beginner can make.
Waterproof boots or waders keep you in the productive water, and quick-dry pants beat jeans that soak up cold creek water and stay wet all day. A wide hat and sunscreen matter because the water reflects sun straight up at your face.
Where to find gold
The best equipment finds nothing pointed at barren ground, so reading water is the real beginner skill. Gold is heavy, roughly 19 times the weight of water, so it drops out of the current the instant the water slows.
That tells you exactly where to look: the inside of bends where water runs slowest, the slack pockets behind boulders, and the cracks in exposed bedrock. Gravel bars on the inside of a bend are the smart first sample.
Historic gold districts are the best starting point, because gold found before is gold found again nearby. To learn whether your local water even carries gold, see do all creeks have gold, and our getting started with gold panning guide covers choosing a spot.
How to read a river
Reading a river is the skill that turns equipment into gold. Water tells you where the gold went if you learn to watch how it moves.
Understanding river currents
Fast water carries gold, slow water drops it. Where a rapid empties into a calm pool, where the current widens and loses speed, and on the downstream side of any obstruction, the water slows enough to release its gold.
The inside of a bend is slower than the outside, so gold settles on the inside gravel bar while the fast outside gets scoured clean. Start your sampling on those inside bars.
Using the right tools for river reading
Your eyes are the main tool, but a pan is how you confirm what you see. Pan a few test spots and count the colors in each, then work hardest where the counts are highest, letting the gold, not the scenery, decide where you dig.
Look for changes in the gravel too. A band of larger, tightly packed cobbles over bedrock is an old channel, and those pay streaks run like buried ribbons through a bar, carrying the richest material.
Recommended Reading
How to pan for gold step by step
Panning is a simple motion that takes practice to do well. Here’s the sequence that gets a beginner recovering gold instead of washing it away.
- Prepare your equipment. Rough up a new pan with sandpaper to kill the shine so gold grabs instead of sliding, and have your classifier, bucket, snuffer bottle, and vials within reach.
- Classify the material. Screen your dirt through the classifier into the pan or bucket to remove the rocks, which makes panning faster and keeps big stones from trapping gold.
- Fill and submerge. Fill the pan about two-thirds, submerge it fully, and break up any clay with your fingers, because clay traps gold in sticky clumps that wash out whole.
- Shake and settle. Shake the pan side to side underwater to settle the heavy gold to the bottom, alternating with a gentle swirl.
- Swirl and rinse. Tip the pan slightly and swirl so the light sand washes over the lip while the gold stays behind, repeating shake and wash until only black sand remains.
- Finish carefully. Down to black sand, work in an inch of water, slow and careful, then use the snuffer bottle to lift the gold and store it in a labeled vial.
The mistake that loses gold is hurrying. Keep the pan low, let a slow steady motion do the sorting, and never rush the final minute where the last flakes sit on top of the concentrate.
Practice in your backyard first if you can. Drop a few pieces of lead shot into a pan of dirt and pan it out until you can finish with the shot still in the pan, because if you can hold onto lead, which is lighter than gold, you’ll hold onto gold at the creek.
Tools
Gold vs. fool’s gold
Beginners get fooled by pyrite, and the tests are simple. Real gold stays a dull gold color from every angle, while pyrite flashes and sparkles as the light changes.
The shadow test is quickest: cup your hand over the pan, and real gold keeps its color in the shade while fool’s gold goes dark. Gold doesn’t need direct light to shine.
Real gold is also soft and dents under a pin, while pyrite is brittle and crumbles. To understand what your finds tell you about the ground, our mastering fine gold recovery guide goes deeper on handling the small stuff.
Gold panning ethics
Good habits keep the creeks open. Fill your holes, pack out every bit of trash, and leave the streambank the way you found it, because access stays open only when prospectors act right.
Know the rules before you dig. Some ground is claimed, some is protected, and some allows only hand tools, so check the status of your spot rather than assuming a pan makes it fair game. Our protected areas and gold prospecting guide covers where you can’t go, and best tools for gold panning helps you plan the rest of your kit.
Respect the water and wildlife. Avoid disturbing spawning beds, keep the water as clear as you can, and give other prospectors room, because the hobby’s future depends on how we treat the land.
Resources for beginner gold panning equipment
- U.S. Geological Survey: Maps and mineral data to find gold-bearing ground.
- Bureau of Land Management, Mining and Minerals: Rules for prospecting on federal public land.
- USDA Forest Service: Where hand-tool panning is allowed in national forests.
- Gold Prospectors Association of America: Beginner guidance, claims, and local chapters.
- TreasureNet Forum: Community help for new prospectors choosing equipment.
Starting with the right equipment
You don’t need much to begin, just a pan, a classifier, a shovel, a snuffer bottle, and vials, and that short list will find real gold while you learn. Add a crevice tool, a magnet, and eventually a sluice as your skill and your ground call for them.
Skill beats gear every time, so spend your first trips learning to read water and refine your swirl rather than chasing the next purchase. Master those basics, and the essential gold panning equipment for beginners becomes the start of a lifetime at the creek.
Frequently Asked Questions – Essential Gold Panning Equipment for Beginners
What is the essential gold panning equipment for beginners?
A dark 14-inch plastic pan, a classifier, a sturdy shovel, a small trowel or crevice tool, a snuffer bottle, and glass vials. That short, inexpensive list will find real gold, and you can add specialized gear once you understand the ground.
How much does a beginner setup cost?
Very little compared to most hobbies. The core tools, a pan, classifier, shovel, snuffer bottle, and vials, are inexpensive, which is part of what makes gold panning accessible, and you only add costlier gear like a sluice or detector as you progress.
What size gold pan should a beginner use?
A 12 to 14-inch pan is ideal. It moves enough material to be productive without wearing out your wrists, and a green or black color makes gold flakes visible against the background so you don’t accidentally wash them away.
Do beginners need a classifier?
Yes, it’s one of the most useful early purchases. A classifier screens out the big rocks before you pan, which speeds up every pan, protects your back, and keeps large rocks from trapping fine gold against the side of the pan.
How do I keep the fine gold I find?
Use a snuffer bottle to suck up the flakes and dust, then store them in glass vials rather than plastic. Fine gold rides on the surface of water and clings to static-charged plastic, so those recovery tools matter as much as the pan.
How do I read a river to find gold?
Look for where the water slows, since gold drops out of slow current. Work the inside of bends, the pockets behind boulders, and the cracks in bedrock, and confirm your reading by panning test spots and counting the colors in each.
How do I tell real gold from fool’s gold?
Real gold stays a dull gold color from every angle and even in shadow, while pyrite flashes and sparkles and goes dark in the shade. Real gold is also soft and dents, while pyrite is brittle and crumbles under pressure.
What should I upgrade to after the basics?
A crevice tool for bedrock cracks, a magnet separator for black-sand cleanup, and eventually a sluice box, which processes buckets of material per hour instead of pans. Add each piece as your skill grows and your ground calls for it.
⛏ Recommended Gear ⛏


* As an Amazon Associate I earn from qualifying purchases at no extra cost to you.
Subscribe to Our Newsletter

Ryan Conlon is the founder of Pan for Treasure.
A lifelong gold panning enthusiast, he created this site to help beginners learn the ropes and share practical tips from his own time on the creek. [email protected]